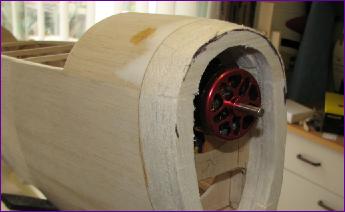
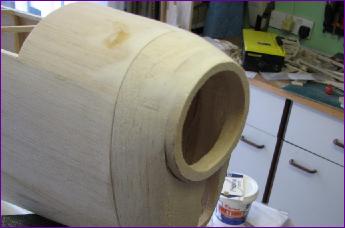
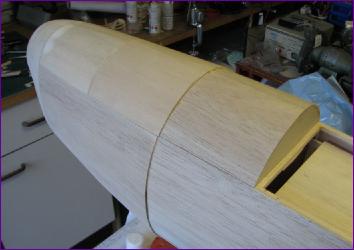
The inside of the noseblock had to be kept as open as possible to allow access to the motor mounting screws. I found it easiest to build up the first two laminations of 12mm balsa from four pieces each.
A sheet of 6mm balsa forms the cowl front face and a further 5mm layer supports the 0.8mm ply propeller ring.
Of course, the motor had to be repeatedly fitted and removed during this process to ensure that the block lined up with the spinner.
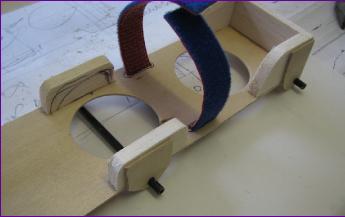
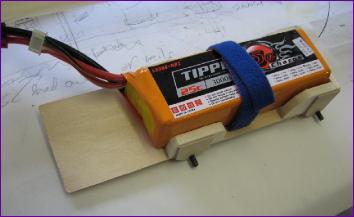
When it came to the battery sled, the limitations on my drawing skills were a serious handicap! Nonetheless, after much scribbling and thinking, the sled was made from 1/16ply, with 0.5mm carbon tube used for 'axles'.
A Velcro-type strap holds the battery to the sled (another balsa block in front of the battery will be added later).
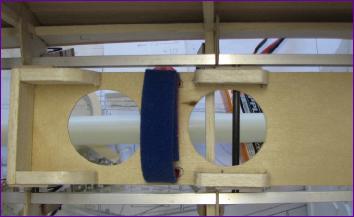
The sled is dropped through the hatch aperture and the rear axle engaged in the aluminium U channels. As it slides back, the front of the sled can be lowered and the second axle enters the channel. (Sorry, the orientation of the two pictures is confusing -perhaps I should have 'flipped' the second photo). There is about three inches of fore and aft travel available along the rails so an adjustable latching mechanism will need to be devised to keep the sled in position.
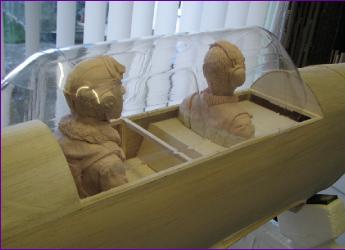
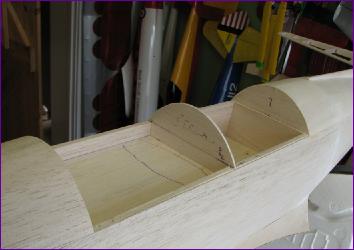
Confident now that the small forward hatch would work, I started work on the cockpit floors and the hatch itself.
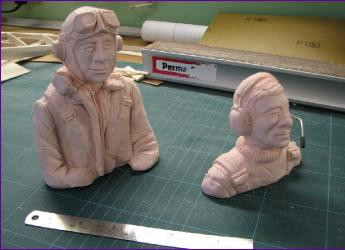
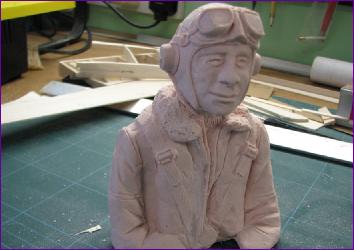
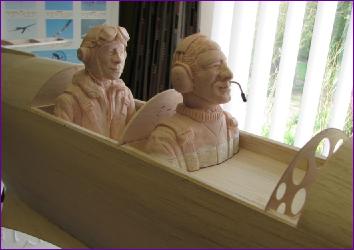
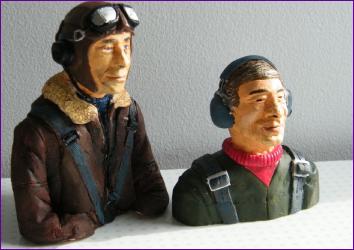
I was a bit nervous about cutting off the oxygen mask from the WW2 pilot, but it went surprisingly well. I used a Dremel tool to re-texture the sheepskin collar where the mask had been cut off.
Even after extending the shorter pilot, a significant step is needed in the cockpit floor.
As it happens, having the raised floor in the forward cockpit does give a bit more clearance when the battery is being inserted on its sled.
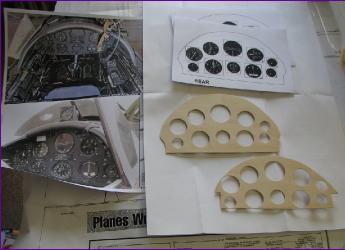
Once the cockpits were fully lined, attention turned to the instrument panels. At 1/5 scale, these were slightly oversize (but in scale with the pilots) so had to be cut down somewhat. In the picture below, one panel has been trimmed to fit, the other is as supplied.
The cockpit sides were raised to mate with the canopy and the interiors were painted matt black. Meanwhile, Mike was doing some more serious painting on the pilots - and an excellent job he did, too.
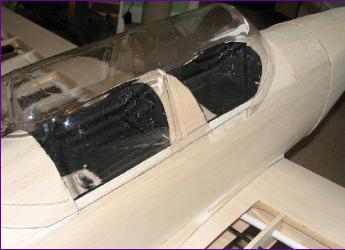
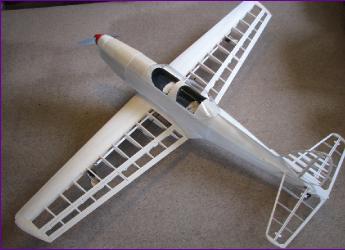
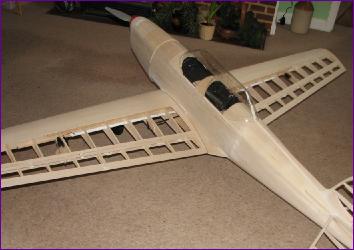
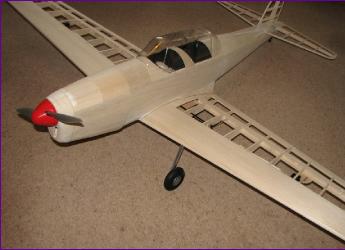
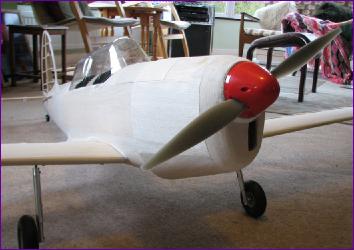
The last bare photoshoot was a good way to summarise the month's work.