Construction of the floats is fairly simple, but persuading the sheeting around the contours and holding it in place while the glue dries required some patience - and quite a lot of masking tape.
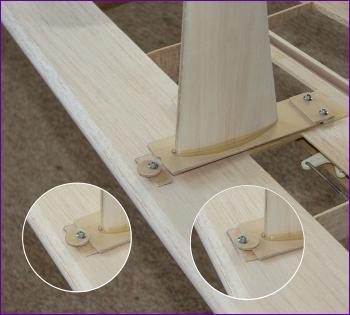
This picture shows my first attempt at a knock-off mounting for the tip floats. The main picture shows the mounting plate being inserted into the rear fixing. It is pushed back against a strip of rubber in the fixing so that the notched front can clear the eccentric washer. This gets you to the bottom left inset which is the knock-off setup for flying off land. To secure the float for operation off water, the washer is rotated as in the right hand inset.
I felt that the rear fixing was too robust so have changed the retaining flange to 1/32 ply instead of 1/16in and reduced the overhang. Good job I opted to screw this fixing on - at one point I was going to glue it.
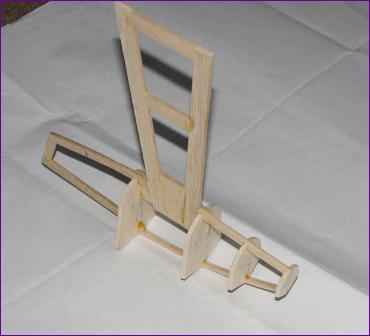
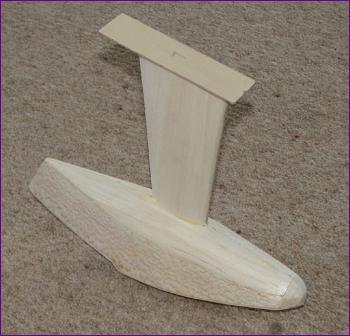
Hope you like my 'natural' epoxy fillet around the root of the pylon by the way!
Sometimes jobs don't turn out to be as hard as one fears. I was pleasantly surprised by how well the Profilm went around the contours of the motor cowlings.
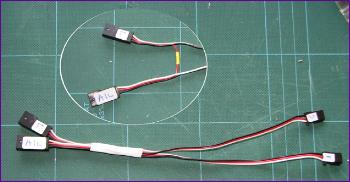
Because I will be using two speed controllers, each equipped with a BEC, I modified a pair of extension leads so that the power feed from one of them goes back into the wing to supply the aileron servo. The second ESC plugs into the receiver via an unmodified lead, to power the elevator and rudder servos.