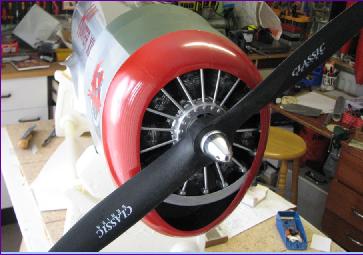
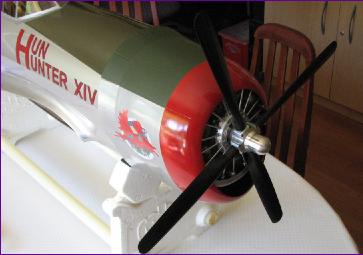
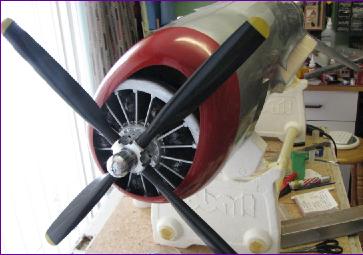
June 2014(More on June) So, with the maiden flight behind me, it was time for some of those finishing touches. First up the dummy engine. This was a challenge to fit, partly because it had to go well forward of the scale position to clear the front of the motor and partly because there was very little radial clearance inside the crankcase so it had to be very precisely positioned.
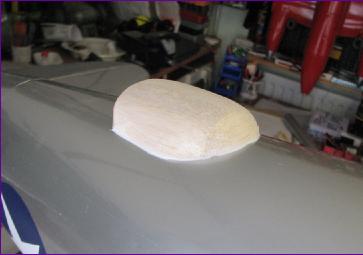
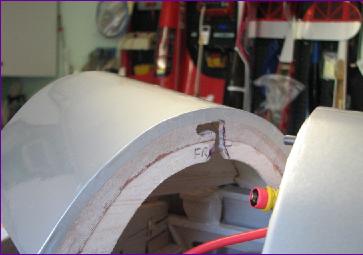
Next was the rear ventral air exit. This was made from balsa, with cocktail sticks to reinforce the joint, in anticipation of it being used as a bit of a hand grip! (More pics of this on the June diary page)
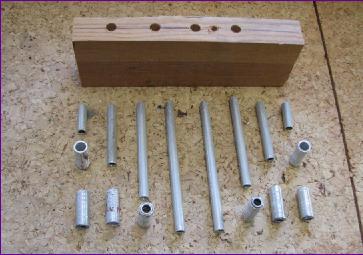
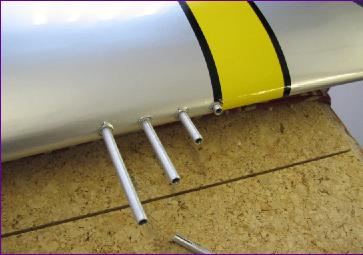
Wing canons were made from aluminium tube. They plug into sockets also made from aluminium tube. In order to get them to fit sufficiently snugly whilst still being easy to remove, half inch slots were sawn into the ends of the canon tubes so that the ends can be splayed slightly to obtain the desired level of friction. So far, this has worked well.
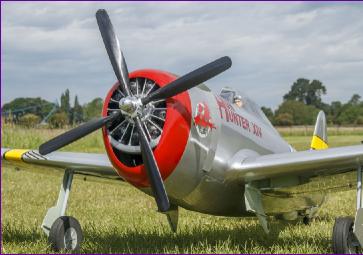
The last addition before the second flying session was a Ramoser 4 bladed Varioprop. This is 16.8in diameter and, owing to my misunderstanding the pitch gauge, the pitch was initially set to eight inches, or possibly less.
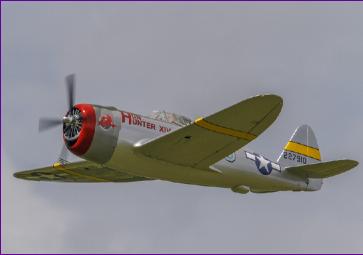
The sequence of shots below were taken by clubmate Alan Butterworth and there are more of them on the Slideshow page. In spite of the bungled pitch setting, the model flew well but, as you can see, the belly hatch still departed the scene, albeit it did last further into the flight.
After this second successful outing, the propeller pitch was adjusted to the originally intended 10in and the tips painted yellow. An internal ballast box was constructed to accommodate the tailweight (still needed in spite of the second battery re-location) and, last but not least, a more positive retention mechanism applied to the belly hatch.
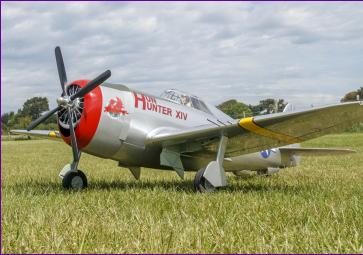
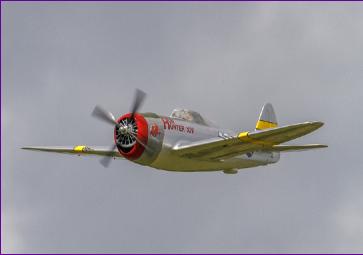
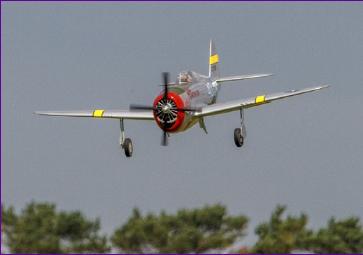
Four more flights have been logged in this configuration and I now regard the model as aerodynamically sorted. The flight handling is good and the performance on the four bladed prop is ideal, large loops now being easily achieved. If there is a disappointment, it is the limited duration, the 3300mah cells being good for only four or five minutes of mixed flying. On the positive side, the model feels lightly loaded and the battery boxes are well capable of accommodating larger packs so, if the limited duration becomes a nuisance, I could always invest in some 4000mah or even 5000mah packs.
So, what else is there to be done? Well, just when I thought the project might be drawing to a conclusion, I understand that the freshly painted drop tank will be with me in the next couple of days. . . . . .
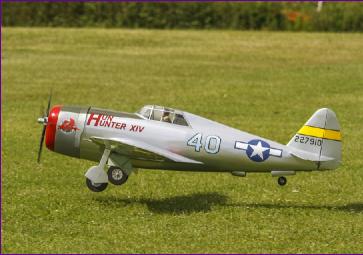
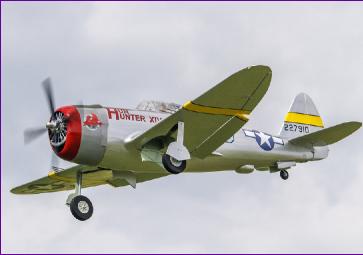
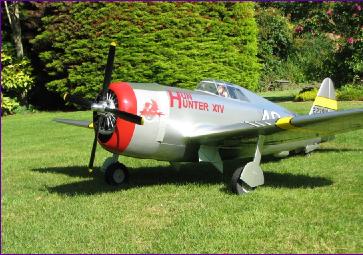
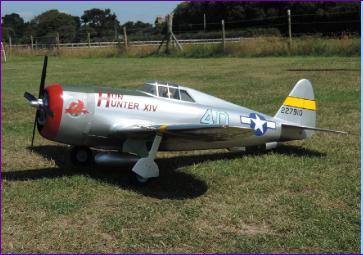
July 2014 With some good flying weather, the main activity this month has been clocking up some flight time with the P47. Apart from one gear collapse (hopefully now fixed with a bit of adjustment to the retract servo travel to improve the locking) the model has been trouble-free and, as I become more familiar with it, I'm enjoying the experience more with every flight.
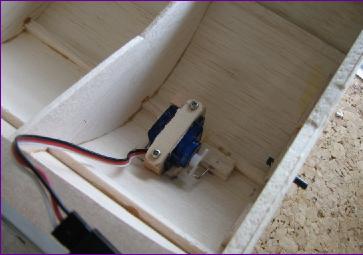
Workshop activity has been centred around the drop tank. First a release servo was fitted inside the underwing fairing.
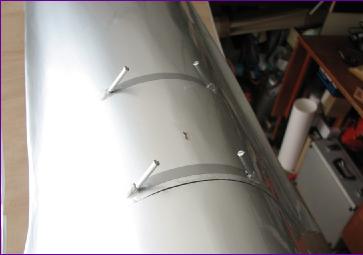
The anti-sway braces are basically 2mm screws. These were trial fitted by simply screwing them into the balsa. Once their final positiona and orientation had been determined, pieces of snake inner were used as thread inserts. These have a bit of give to make the adjustment of the strut lengths a bit less critical and also provide a bit of compliance if they get a knock.
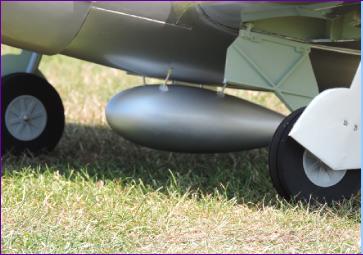
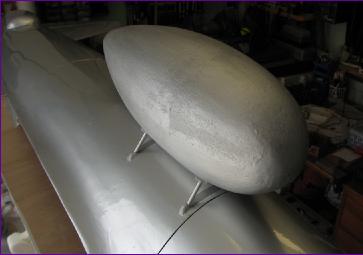
Then it was off to the field to give it a try. As you can see, ground clearance is pretty minimal with the tank fitted.
The tank suvived the take off roll and the model's flight characteristics seemed unchanged. After a few circuits, I brought it round and hit the release switch. To my delight, the tank dropped cleanly away immediately.
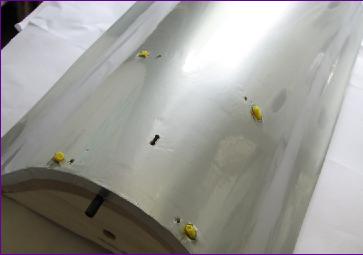
However, I was somewhat disappointed to find that the tank hadn't survived the drop particularly well. As you can see from the picture, the two shells have sprung apart at the rear.
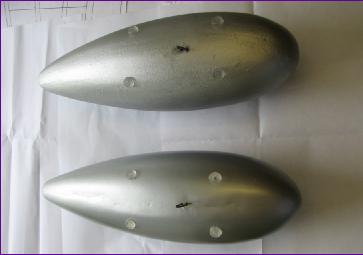
After discussing various options, I took up a clubmate's kind offer and soon received a second tank cut from pink foam and with a skin of glass cloth applied with polyurethane varnish. This one (top of picture) weighs just half the original so hopefully will survive somewhat better.
Once I had fitted an attachment staple, I then tidied up the anti-sway brace mounting points, so all is ready for another attempt on the next outing.
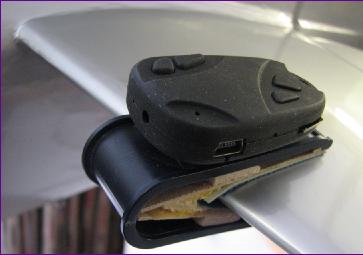
August 2014 The mkII drop tank has now survived three drops, sustaining no more than a couple of grass stains so that really marks the completion of this project. For the last flight this month, I mounted an 808 #16 keychain camera to the tailplane in order to get some inflight video. I was determined to find a way of mounting the camera which didn't damage the film or dent the underlying balsa. The resulting arrangement is a bit Heath Robinson, but the camera was still on the aeroplane at the end of the flight, so I count that as a success!
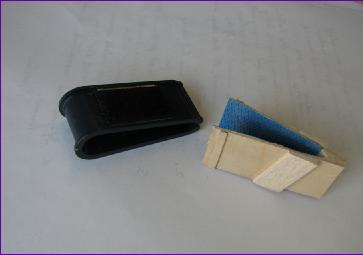
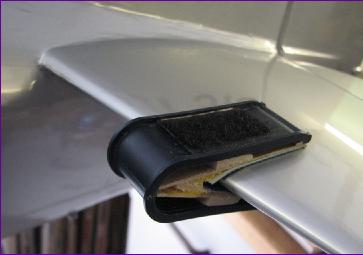
The inner section of the mount is made from 1/32in ply and scrap balsa, lined with offcuts from an old rubber glove.
The securing clip last flew on a Boeing 747 - it's an old British Airways napkin holder.
The camera is simply fixed to the clip with a patch of velcro.
I've added the resultant video to the Video Clips page but it seems such an appropriate way to sign off from this project that I've also included it below. It's been a long haul and, as September looms, a new building season beckons. I think I need a lie down first!