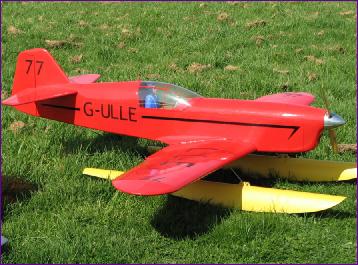
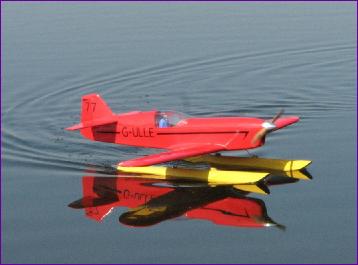
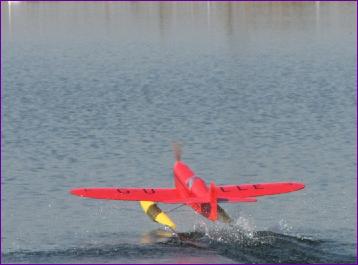
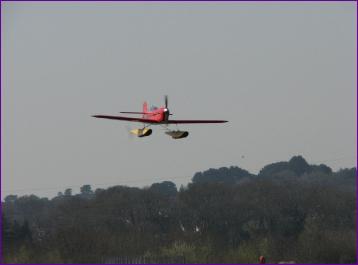
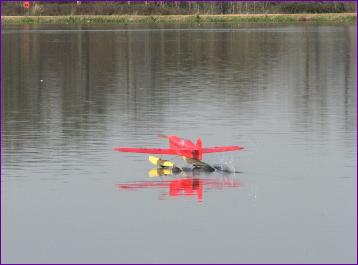
Chorus Gull Float Conversion
My workshop is now so packed with models that, whenever I build a new model I try really hard to dispose of one. So it was that when I set about the DH88 Comet, the Chorus Gull was earmarked for disposal. As the time drew near to put it up for sale, I found myself considering why this model wasn't getting flown very much. I soon realised that it was nothing to do with its condition or flying characteristics. Indeed, it's coming up to its tenth anniversary and still looks pretty good and it has alsways flown well. The issues lie with the ground handling - that long, leggy, raked and spatted undercarriage always seems to result in bouncy landings and the fixed tailskid means that taxiing is a frustrating experience too.
As it happened, my local club had just secured flying rights at a local reservoir and I had been intending to try to work out a float option for the Astro Hog. Eventually the penny dropped that I could avoid the hassle of swapping the Hog back and forth from wheels to floats by fitting floats to the Gull permanently.
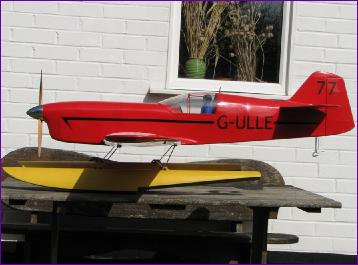
The project got off to a bad start: I ordered a set of floats from China. They took a long time to arrive and one of them leaked. They were also a bit heavier than I had anticipated so, rather than botch repair them, I sent them back - at significant (non-refundable) expense, I might add. At this point a fellow modeller took pity on me and offered the pair of floats you see in the pictures. These had been passed to him by another flyer, who had got them from someone else who. . . well, where they originated is lost in the mist of time.
A quick bouyancy test showed the floats to be well matched to the model and I then spent several days scraping off layers of congealed paint and goo from the 16 wheel collets that secured the floats to a positive birds nest of wire work. With a mixture of brute force and penetrating oil the floats were eventually liberated and the job of fitting them to the Gull could begin.
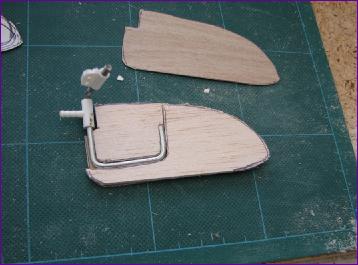
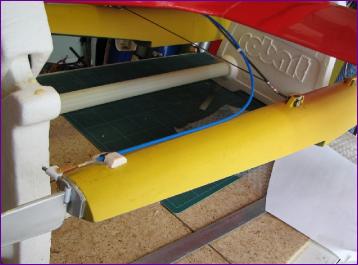
The rear mount was a bit more problematic. I wanted to fix the rear stay with P clips under the nylon wing fixing bolts. However the mounting blocks on the floats were well forwards so, with the step of the floats positioned at the recommended point (under the cg), the rear stay was raked severely forward. So much so that exerting any downward pressure on the model caused it to 'sit down' as the rear stay rotated forwards into a horizontal position. |
||
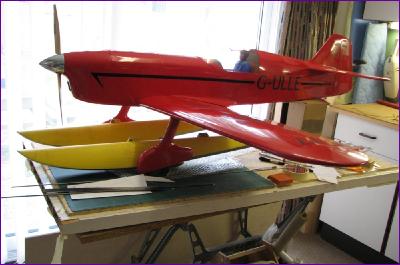
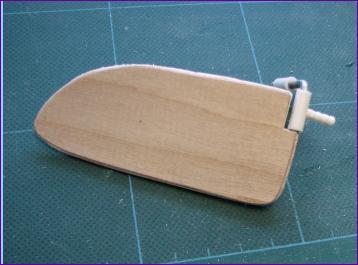
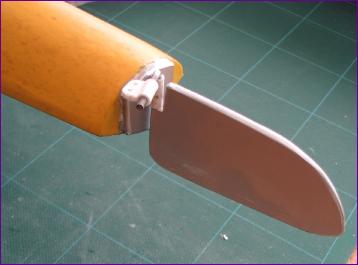
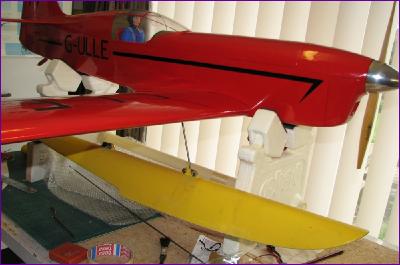 The front mounting was relatively straightforward: I bent up a couple of new torque rods out of 1/8in wire (one size thinner than the land legs) and sleeved the inboard ends with brass tube so that they were a snug fit in the original mounting blocks.
|
||||||||||||||||||||||||||