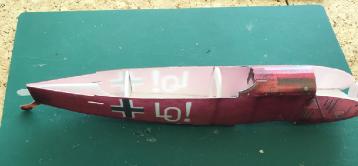
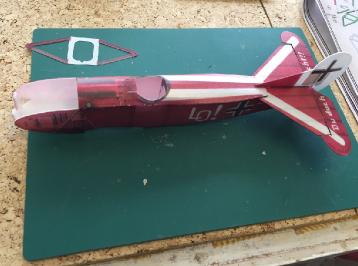
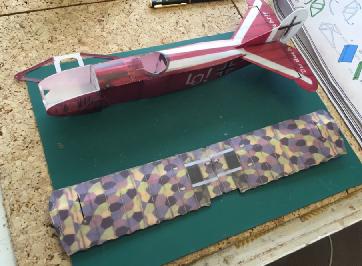
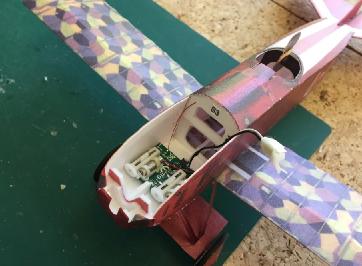
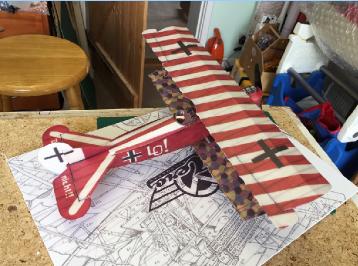
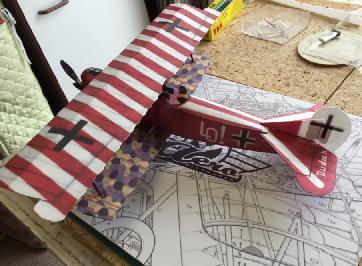
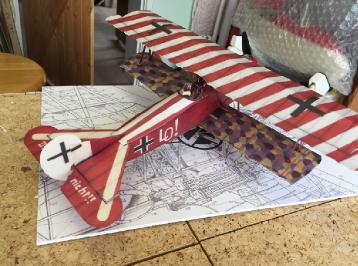
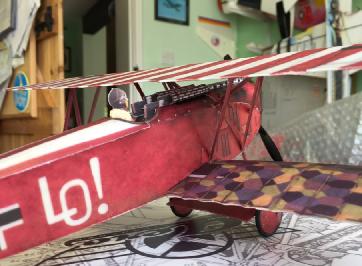
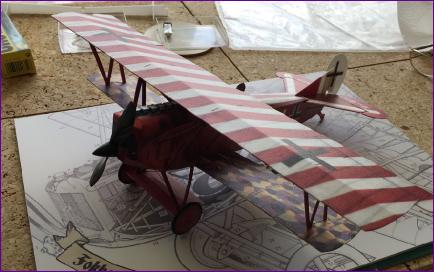
Microaces Fokker DVII
review by Trevor Hewson

The Microaces team have come along to one or two of our indoor flying meetings to try out their creations in our rather small hall. The latest generation models are undoubtedly attractive and well thought out and just about managed to cope with the cramped environment. However, attrition rate can be a bit high at these sessions and the models seemed just a bit too nice to be subjected to such a hard life.

Then, in the Summer of 2016, the models were being demonstrated at the Middle Wallop electric fly-in and were managing remarkably well in quite breezy conditions. So, when the inevitable "what can we get you for Christmas?" question arose, this time I had an answer ready!

What You Get
The kit comes in flat pack form and consits of pre-cut and pre-printed Depron and plastic sheets, an extensive sticker sheet and the inevitable small bits bag. It doesn't sound much for the money but there is a sophistication of design and a precision in the cutting and printing of the parts that is a world away from what we have become accustomed to accept in these days of mass produced kits and ARTF models. I was particularly impressed by the accurate colour matching achieved across the Depron, plastic and sticker sheets, considering that the printing processes involved may well have been quite different.

What You Don't Get
No instructions are included but a very good manual is published online. Whilst printing this out for myself was no real hardship, I'd have preferred to see it included but, since it runs to 24 pages, I can see that it would add significantly to the weight of the package and hence potentially impact on shipping costs for overseas customers.

Also, no electrical components are included. The argument here is that most people interested in building these models will already have the remains of a suitable donor ARTF model lying around somewhere. For me that wasn't the case but putting the word around my clubmates soon resulted in me being presented with a poly bag containing the remains of a couple of very sorry looking E-Flite Spacewalkers. Problem solved.

Construction
The fuselage inner structure is from 2mm Depron, around which is wrapped the pre-printed 1mm Depron skin. Fitting this skin is probably the hardest part of the build so it's a bit unfortunate that it comes up so early in the proceedings. However, there is a lot of helpful guidance in the manual and the process went pretty well.

After that, fitting the tail surfaces and turtle deck was pretty straightforward and so it was on to the lower wing and undercarriage.

I did depart from the published sequence slightly at this point, opting to install the radio and control linkages before tackling the upper wing and cockpit detail.

All in all, this was a rewarding build. Of course, it is a small model so some steps are unavoidably fiddly and considerable patience is needed to achieve a neat finished result. However, there are so many nice touches that you encounter along the way that it is easy to stay motivated.

At the time of writing, the model has only had one flying outing. The first couple of flights were rather hairy due to a slightly rearward cg. However, with 4g of noseweight added, handling was much improved and I look forward to chalking up a few more flying hours with it over the Summer.

Will I fly it indoors over the winter? We shall see.