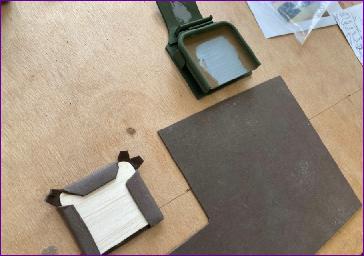
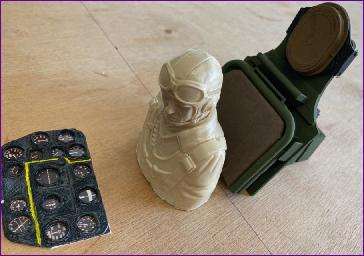
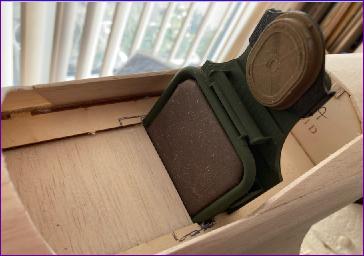
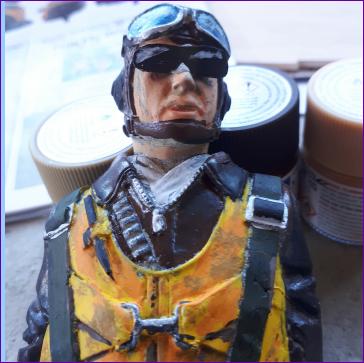
April 2021 By way of an interlude from the balsa bashing, I decided to investigate the cockpit fittings bought with the kit. This is a collection of 3D printed pars which assemble to form the seat back. I opted to give the pilot a bit of extra comfort by way of a 1/16in balsa backrest, upholstered in 'Funky Foam'.
Once painted up, the seat looks pretty smart however my attempts to pick out the main instruments with a yellow line quickly reminded me why I don't generally enjoy painting, so it was back to the balsa and glue.
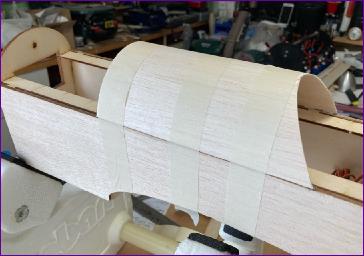
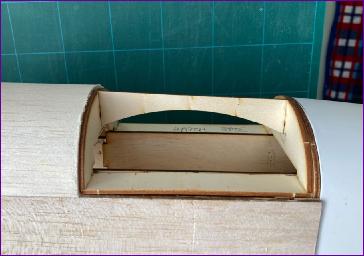
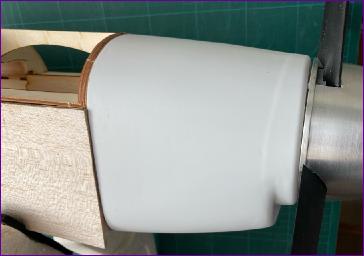
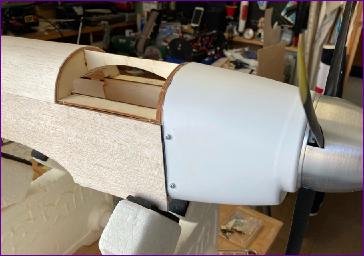
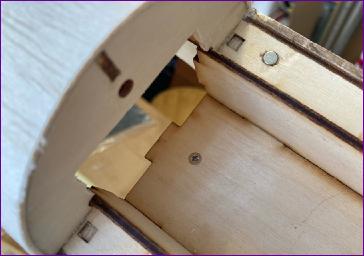
Once I had an idea how the various bits of cockpit furniture were going to fit, it was time to sheet in the forward upper fuselage then, with the hatch framework in place, the job of aligning the cowl could be tackled.
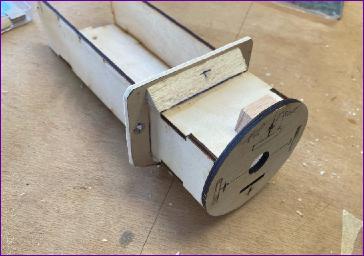
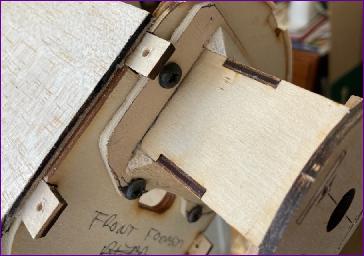
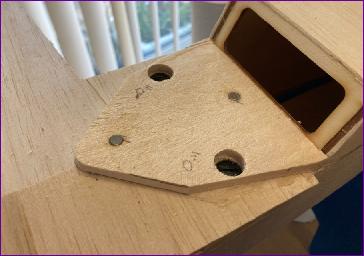
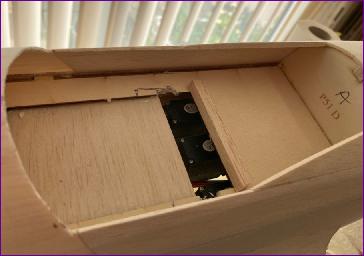
I'm still unsure what size batteries will be used in this model so opted to make the battery box removable to make any late modifications a bit easier. A ply 'collar' was fitted to the box, reinforced with triangular balsa strip. This collar is then screwed to the firewall and, just for luck, another small screw holds down the rear end of the box.
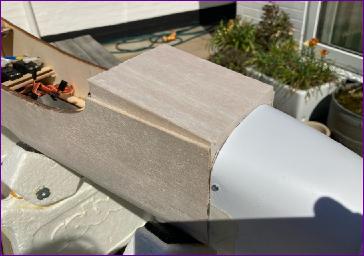
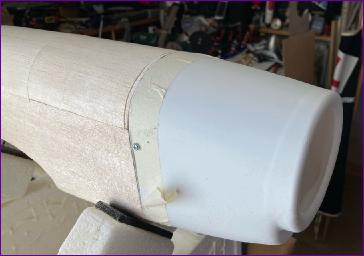
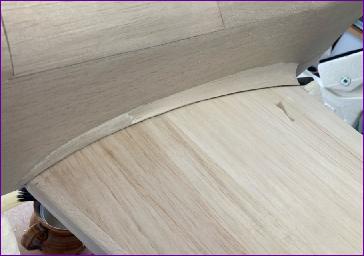
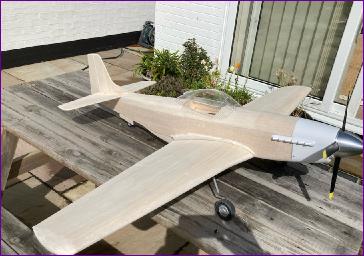
With the bottom block fitted and the hatch skinned, a major sanding session ensued, blending all the woodwork into the cowl. There were a few adjustments needed along the way but I'm quite pleased with the end result.
The wing was fitted for the final sanding of the bottom block and the leading edge of the wing tidied up to blend in. Magnets were fitted to retain the radiator. If you're getting the impression at this point that I was scratching around for little jobs in order to put off something else, you're probably right!
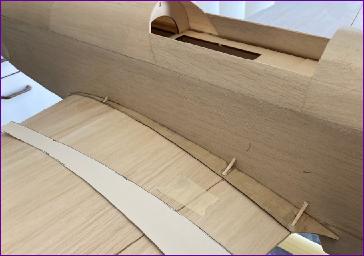
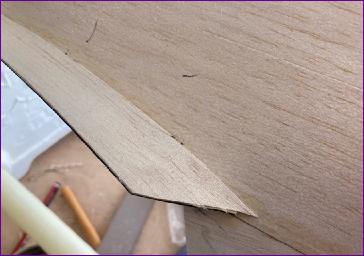
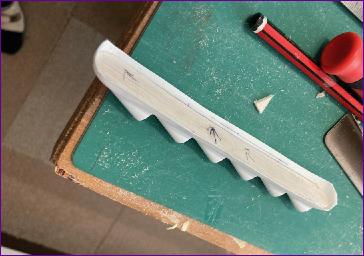
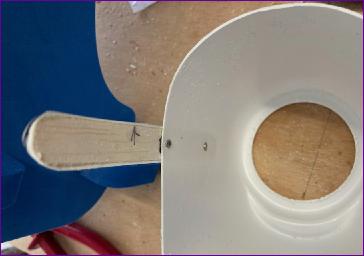
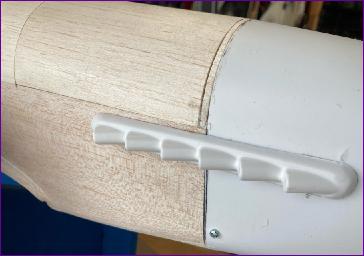
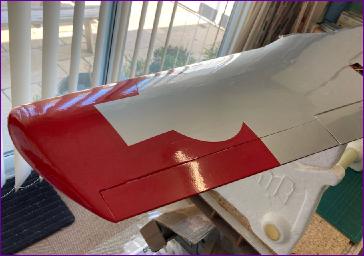
I don't think I know anyone who actively looks forward to the job of making wing fairings. The ones on the Mustang aren't as conspicuous as some but they are significant enough that leaving them off wasn't really an option. I used the 0.8mm ply fairing bases supplied in the kit but then went my own way when building up the fairings. The rear section is from 1/32in balsa, supported on a few balsa formers.
This method does tend to leave the trailing edge of the fairing gaping open but, as long as you've not glued the rearmost inch or so of the base plate to the fuselage, it is easily pinched shut.
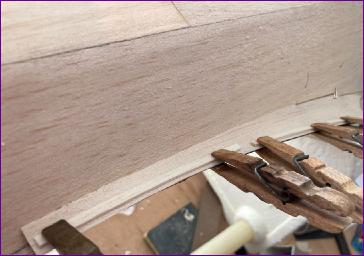
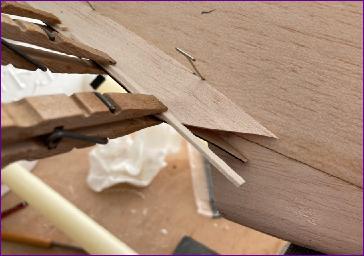
The front portion of the fairing is built up from a few laminations of 1/16in balsa. Once this is sanded back, a smear of filler is all that's needed to finish the job.
So, there's a bit more to do yet but with luck I'll be ready to move on to the covering sometime in the next month.
May 2021 I decided to follow the instructions and attach the exhausts only to the cowl. However, the cowl tapers slightly towards the front so the exhaust stacks have to be shaped appropriately if they are to fit snugly to the fuselage sides when the cowl is in position.
Also it seemed to me that the best position for the exhausts was directly over one of the cowl fixing screws. Baseplates were made up using a balsa/ply lamination to achieve a gentle curve, then each exhaust stack was fitted using two screws, one of them utilising the hole made for the cowl fixing screw.
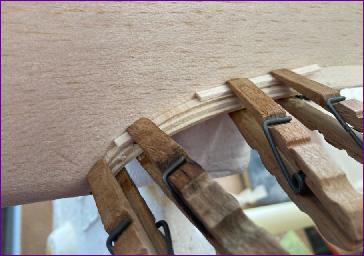
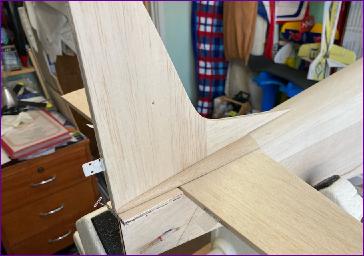
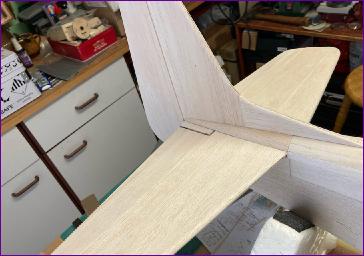
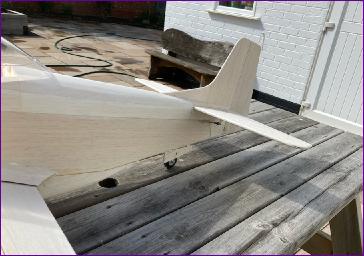
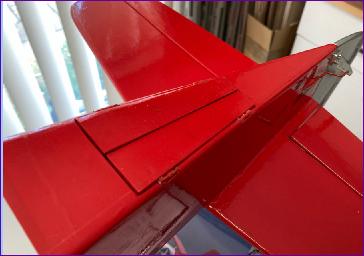
The tail surfaces were fitted next, together with the infill piece between the elevators (note that the picture below shows a dry fit - the elevator joiner needs to be in position before this infill piece is glued in!).
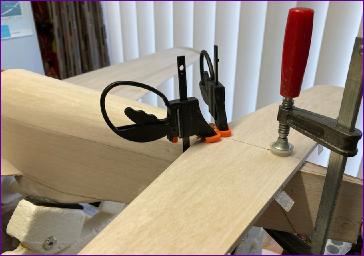
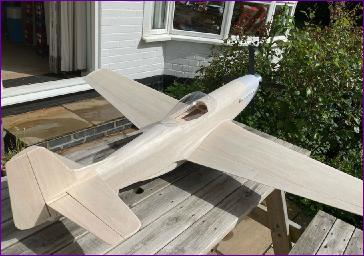
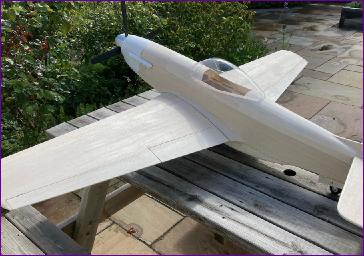
Finally the fairing fillets were added and the whole tail end given a final sanding down.
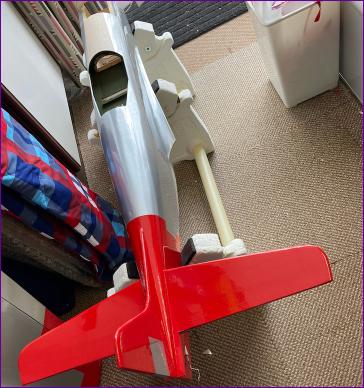
With those jobs done, the model was assembled once more for its final naked photoshoot.
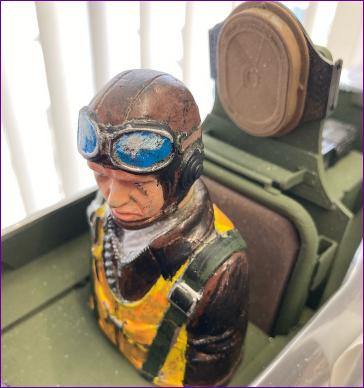
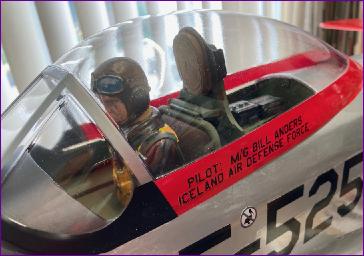
I wanted to get a coat of paint on the cockpit interior before covering but, before that could be done, the floor had to be fitted and I needed to work our how the pilot and furniture were going to be positioned.
The seat was a bit tall to sit on the floor, so a slot was left into which the seat can be glued later. The pilot has had a 3mm wooden base added so he can be secured with a couple of screws from below.
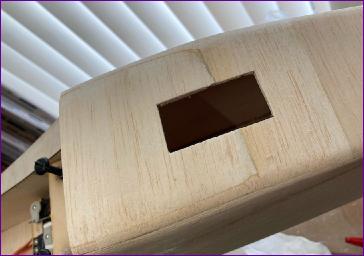
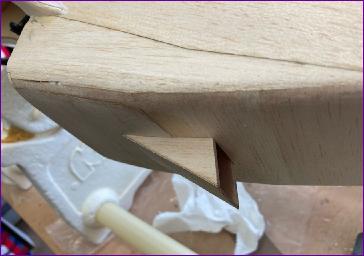
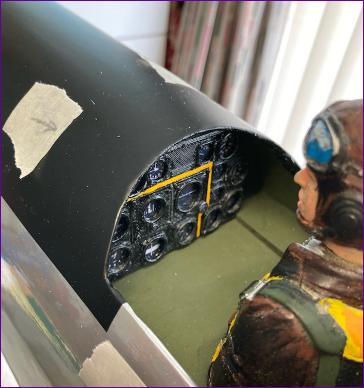
The last dust-generating job to be done before cleaning up prior to covering was to arrange a bit of airflow over the motor, ESC and battery.
The chin of the cowl was opened out then aa hole cut in the aft underside of the fuselage to fit an air exit vent.
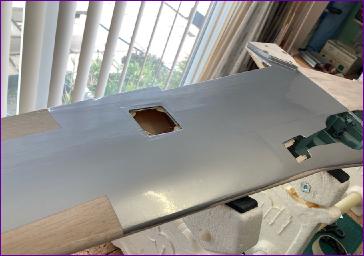
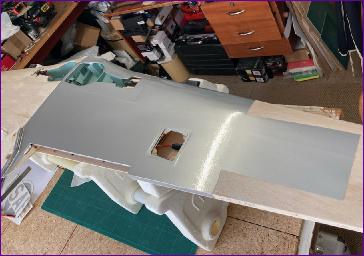
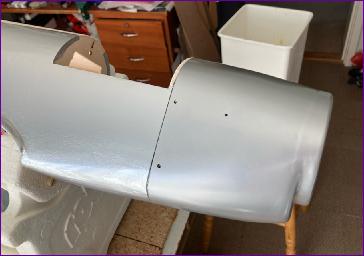
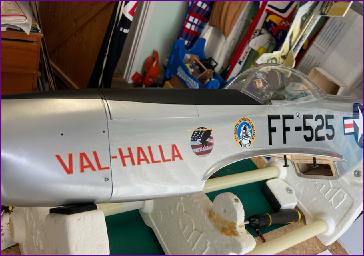
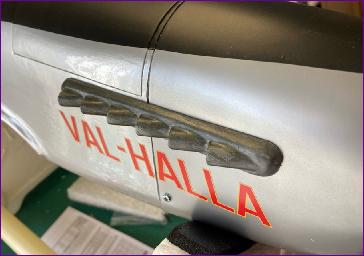
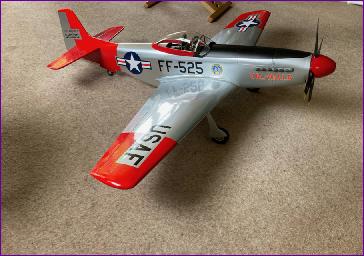
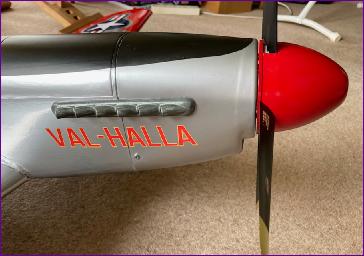
So, after a good clean up, it was at last time to get the covering iron out. I'm basing my model on Val-Halla. Fundamentally, this is a red and natural metal scheme so it seemed sensible to start with the silver first. This is HobbyKing's covering film, which is almost (but not quite!) as good as Oracover, but much cheaper. You can see from the second picture that, for me, 'clean up' doesn't include 'tidy up'!
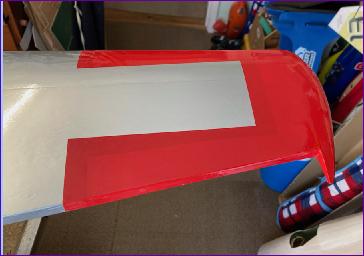
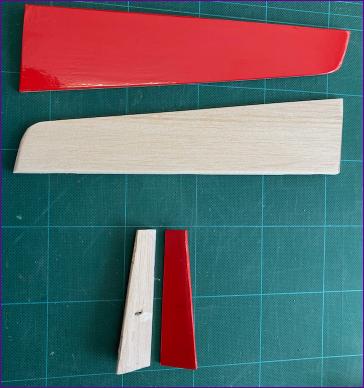
The red film on the wing tips (Ferrari red Oracover) was pre-cut to fit around the wing insignia. Control surfaces were then covered to match.
Covering the fuselage will be the next job, then I'll have to have another go at those undercarriage doors - remember them?!
June 2021 Covering the fuselage and tail surfaces was pretty straightforward - and I remembered to do the control surfaces and tailwheel doors as well.
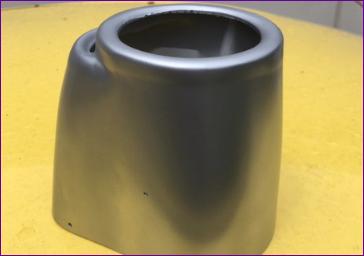
To avoid ruining this model by subjecting it to my well known ineptitude in all things to do with painting, I'd subcontracted out the painting of a few of the more critical bits, and I was delighted when they came back duly transformed.
The pilot is the handiwork of Mike Roach and the cowl was sprayed by Peter Chaldecott. Peter even managed to match the paint to the sample of covering film I provided. Thanks chaps!
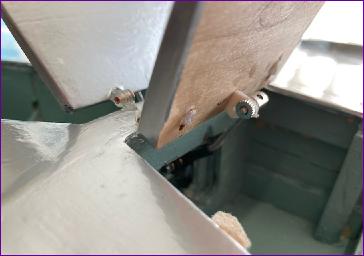
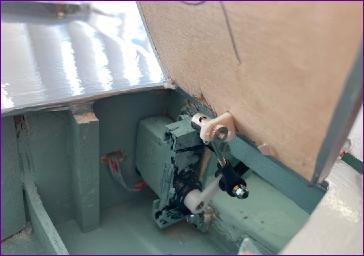
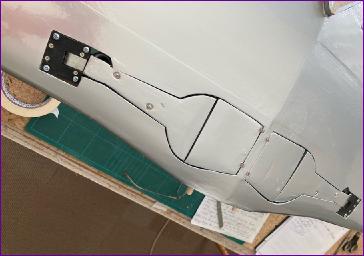
So, after those little diversions, it was back to those undercarriage doors which I struggled with way back in February. This was every bit as much of a battle as I feared - these two pics give some idea of how tight the servo installation is, and the challenge of getting enough movement on both doors.
When at last I had to acknowledge that the doors were as good as they were going to get, the leg fairings were made to match. These were from balsa laminated onto 1/32in ply. Again a lot of fiddling and fettling was needed to get a tolerable fit in the apertures, whilst following the contours of the underside of the wing.
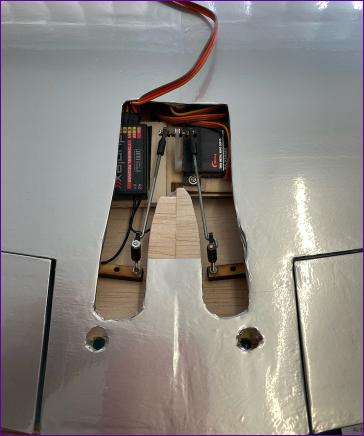
After that, it was something of a relief to hinge the flaps, finalise the linkage, and mount the receiver.
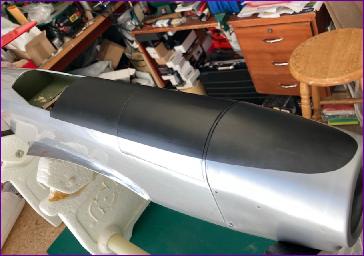
With the cowl painted, I set about the anti-glare panel. A paper template was made for the whole thing, then the individual parts (four in all) were cut from matt black vinyl. I was concerned how the vinyl would cope with the slight compound curve at the front of the cowl but in the event, it went on really well and was far less stressful than trying to mask and paint it.
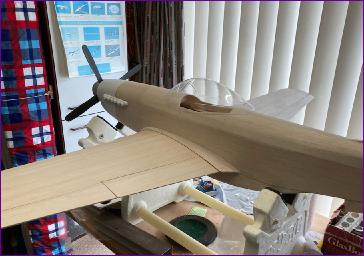
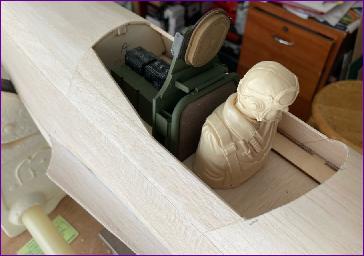
The next job was fitting out the cockpit with pilot, instrument panel, seat and radio equipment.
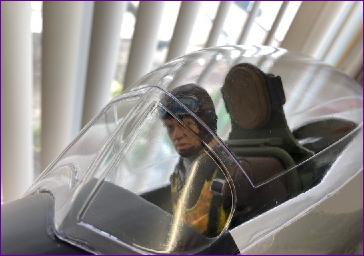
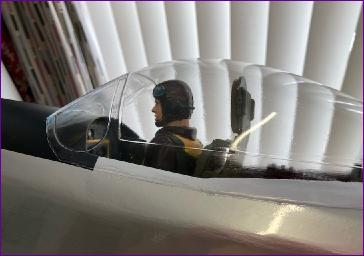
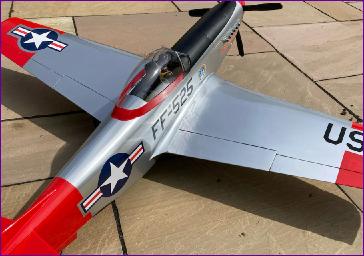
The canopy could now be fitted - making the internals much harder to photograph!
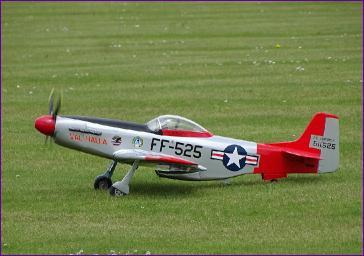
I'm basing my model on Val-Halla, the P51D owned by former astronaut Bill Anders and based in the Heritage Flight Museum in Bellingham, Washington. The stickers were bought from Callie Graphics. I'd heard good things about Callie's products and service and, sure enough, the decals are first class.
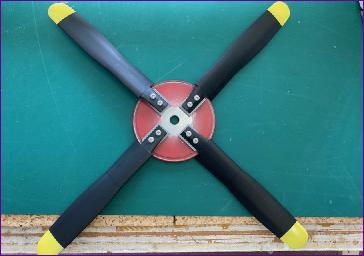
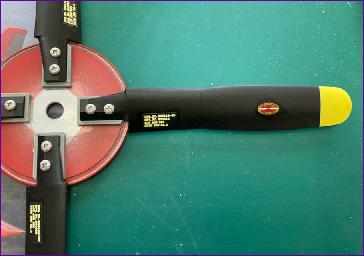
By the end of the month, most of the decals were in place, and I'd also applied those supplied with the kit for the FMS four bladed prop.
There are now only a few things on the 'outstanding jobs' list and I did think about delaying this diary entry a few days to be able to show the completed model . However, based on previous estimates, the remaining two days of work could easily end up taking a fortnight or more so I thought I'd better get the update done - which means you'll have to wait another month to see the finished product. Who knows, there might even be a maiden flight report by then! . . .
July 2021 As I write this entry, July still has a few days to run but the weather forecast is such that the Mustang isn't going to see any further action this month, so here goes.
Although I'd contracted out the major painting jobs, I decided to have a go at the exhausts myself. After a base coat of Humbrol enamel silver, I got my fingers dirty with some metallic rub-ons borrowed from my textile artist wife.
Once I'd achieved a suitably smudged and dirty look, the exhausts were given a coat of matt varnish to prevent the rub-ons from rubbing off again, then they were screwed onto the cowl.
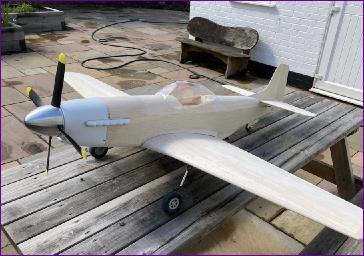
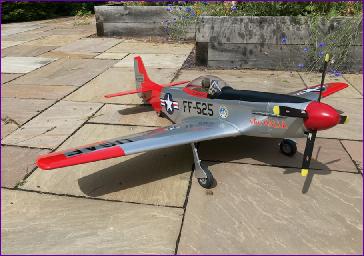
With the cockpit trimmed with vinyl and the remaining decals applied, the Mustang was ready for its final photoshoot. First indoors; . .
I always find that a seemingly disproportionate amount of time is spent on what I call 'fiddling and fettling' to achieve an acceptable fit between moving (or removable) parts.
And then outside. . .
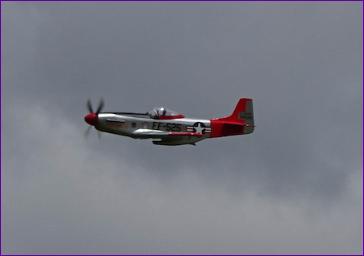
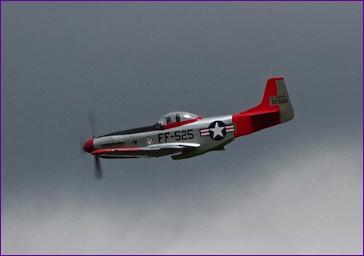
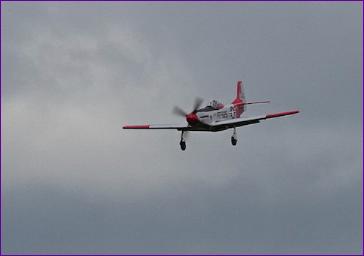
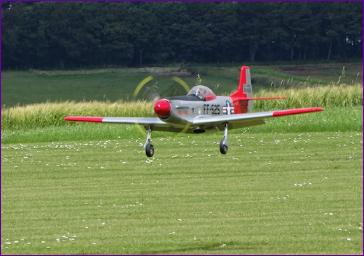
At this point the motor was run up and I was pleasantly surprised at how smoothly it ran in spite of the heavy propeller/spinner setup. I confess that I did succumb to the temptation to taxi it around the lawn for a bit - just to check the tracking and steering, of course. Then at last it was time to head to the flying field. My thanks to Mike Roach for this picture sequence.
The pictures say it all really. I’m delighted to report that the model handles very well. The recommended power setup is just about perfect. There’s enough power for loops from level flight, there was 54% left in the 4s x 3300mah LiPo after 4 minutes and the whole motor/prop/spinner setup runs very smoothly and is eerily quiet, even by electric standards.
I had the cg slightly forward of the plan position and, although I didn’t do a proper in-flight check, it was comfortable to fly and had no difficulty flaring out on landing, even with the lower rate control throws (which I recommend as a starting point).
I look forward to getting better acquainted with the Mustang as and when the weather permits but, based on this first outing, Richard has achieved his aim of producing a practical model which captures the prototype's character, both on the ground and in the air.
Footnote, March 2022: The Mustang continues to perform well but, following a (fairly gentle) nose over, the spinner backplate became distorted, taking on a somewhat saucer shape and rubbing on the front of the cowl. I asked Richard's advice on how best to set about straightening it. He responded immediately, not only with the requested advice but also with the offer of a new backplate of harder material. Needless to say, I took him up on his offer and this new backplate has now been drilled, painted and fitted and so hopefully the problem will not recur.
I knew that Richard had a reputation for standing behind his products. If this little episode is anything to go by, it is a reputation hard-earned and well-deserved.