Slingsby Petrel Project Diary - part 1

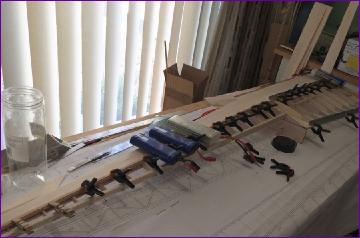
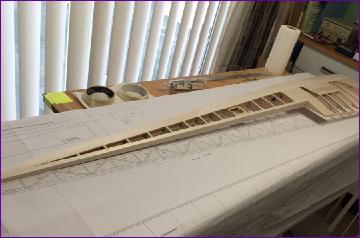
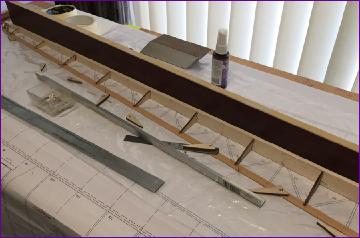
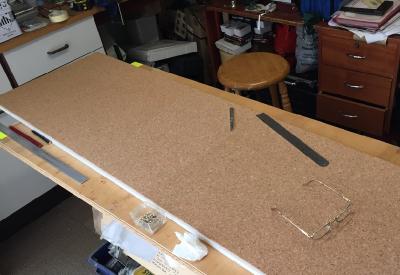
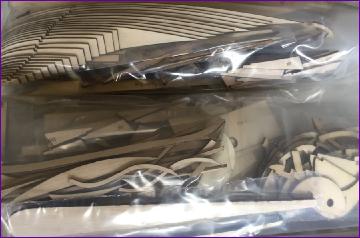
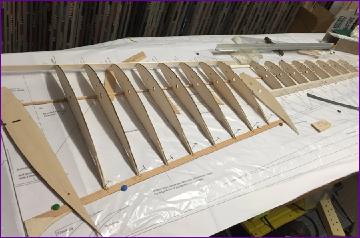
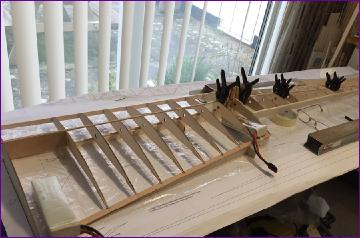
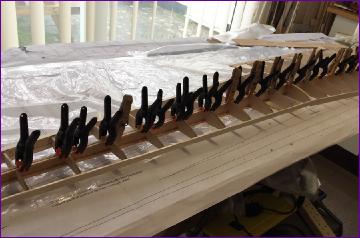
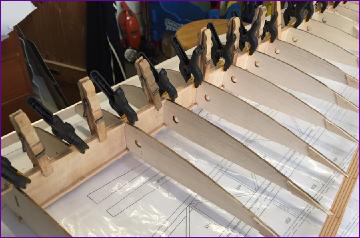
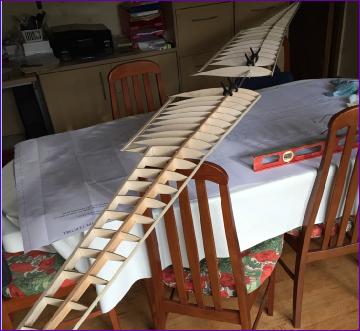
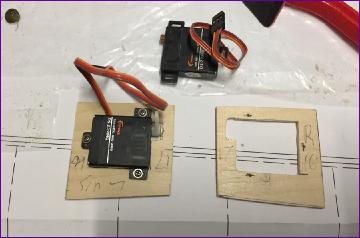
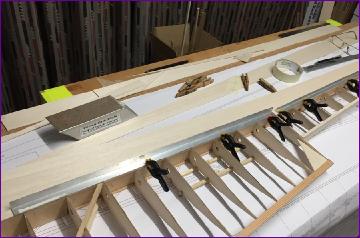
After building the Wolf, I found myself drawn by the prospect of a slightly larger vintage glider. I'd seen the prototype of this particular model and, as well as looking very beautiful to my eye, it performed very well off an aerotow. At 1/5 scale, it is easier to transport than the larger scale gliders but still large enough to have a good presence in the air so, as with the Wolf, a couple of us in the local flying club managed to talk each other into giving it a go.

This time though, it was going to be a proper Winter build so, although the design was published as a free plan in the July 2019 edition of RCM&E, to reduce the amount of dust generated I opted to start with the part kit supplied by Laser Cut Sailplanes. With this in hand, a supplementary wood list was drawn up, together with a shopping list for servos, tow release etc. and a canopy from Sarik Hobbies.

The parts kit came with another version of the plan which is much easier to work with than the sliced and diced, double sided magazine version. Unfolding this plan though brought home just how long the wings are, even on a 1/5 scale glider! Furthermore, since each wing is to be built in one piece regardless of the gull anhedral bend, the first job was to make a bigger building board. A piece of Contiplas left over from a previous kitchen project was cut down to size and faced with cork tiles.

The board rests on my existing central table (actually an original B&D dual height Workmate) so, by pushing it one way or the other I can (just!) get around to work from either side.

November 2019
The photo on the right shows the two kits ordered and gives some idea of the quantity of parts included. The parts come in a number of bags which helps keep things under control. However, they aren't bagged up in a way to reflect a particular build sequence so locating a specific part without tipping out a load of as-yet-unneeded ones can be a challenge.

The quality of wood used is good and so far the cutting has proved to be very accurate.

The wing building method is very similar to the Wolf. However once the ribs are glued onto the lower spar, trailing edge, aileron spar and false leading edges, the wing is then jacked up onto 6mm balsa spar supports to create the gull break angle. I deferred fitting the rib at the gull break (R11) until this point to make it easier to sand the right angles onto the ends of the aileron spar and the false leading edges. The top spar is then added, followed by a few of the 0.8mm ply shear webs, which sets the gull angle.

Before lifting the wing off the supports, the pre-cut ply spacer for the brass joiner box was used as a template to set the angle of the root rib. Then the wing can be lifted off the board and the remaining shear webs fitted - much easier when clamps can be applied from both sides!

With all the webs in place the 3mm square spruce spar doublers can be applied top and bottom.

Then it was a case of doing it all again! With two wings framed up, they were temporarily fitted onto the joiner bar for a dihedral check.

Before moving on to the underside sheeting, I decided to sort out the servo mounting arrangements. First the aileron servos:

Then the spoilers:

The last job before tackling the sheeting was to fit the Wing joiner boxes and rear incidence joiner tubes, once again joining the two wings together to check for proper alignment.

So, as the end of the month approached, out came the 1/16in balsa sheet and the skins for the underside leading edge section were made and trial fitted. Once again, the advice is to ignore the gull break and fit the skin in one piece. Once again, despite some initial scepticism on my part, this proved to be no problem. Next month though, we will find out whether the same is true for the upper surface!

December 2019
Well, the upper leading edge sheeting went pretty well. With the wing supported on the jigs at four points, a bit of weight was needed to sit it down onto one of the intermediate jigs. The sheet was first glued to the spar as shown in these pictures and the glue allowed to dry overnight before pulling the sheet down onto the leading edge.

This seemed a good time to sort out the spoilers. The aperture was faced with 1/16in balsa, the spoilers themselves being laminated with 2mm balsa either side of a core of 0.8mm ply. They are connected to the servo by a simple wire link which engages in a short piece of nylon tube mounted in a balsa block on the underside of the spoiler.

The remainder of the underside sheeting was completed next, leaving an aperture in case access was needed to the spoiler servo.

Finally the rest of the upper sheeting was added, together with the leading edges - and of course, all those cap strips!

The wings still need the tip blocks adding and a thorough sanding but they were put aside for now and a start made on the ailerons.

The aileron ribs are provided in the laser cut parts set, as indeed are the diagonals. On tipping them out, I was bewildered to see two ribs labelled A1, but differing somewhat in size - see below left. Spacing the ribs out along the plan revealed a somewhat creative bit of numbering, A12 masquerading as the smaller A1 and A13 being labelled A23.

The hardest part of the aileron build was cutting out and preparing their leading edge pieces. These have to be chamfered carefully before assembly (at least on the bottom) so that the ribs can be fitted using the building board to keep them aligned. This is all the more important because the ribs are cut very accurately (apart from the tip rib which seems not to have taken proper account of the curve in the trailing edge) and so there's no leeway for sanding back the ribs to take out any misalignment.

Fortunately, the diagonals are cut a litttle oversize. This is essential because they go in tilted at an angle so the edges ineviably need some sanding. Anyway, I just managed to get the ailerons basically built before clearing the decks for Christmas.

So, whilst there's still quite a bit of finishing work to do on the wings and ailerons, I think this is a good time to take a break and so I'll resume the build in the new year by rolling out the fuselage plan. Please click here for part 2.