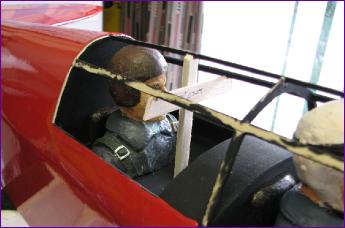
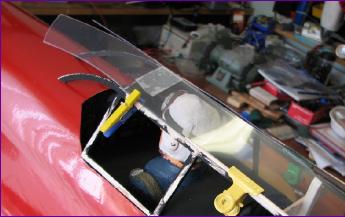
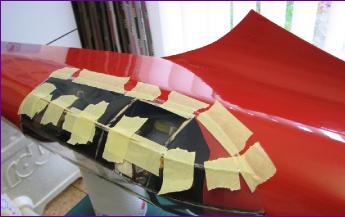
I omitted one of the frames from the canopy framework where the roof section transitions from curved to ridged. As a result I needed to fit a temporary 'pit prop' to prevent the frame from distorting whilst glazing the roof section.
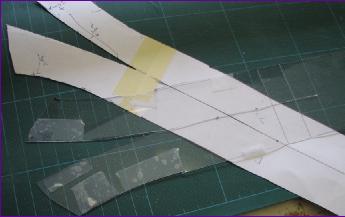
Because of that curved rear section, I wanted to make the roof section from one piece of acetate. A paper template was cut first, followed by a second one cut from 'chocolate box lid' plastic.
Even so, the final piece of acetate needed repeated trial fits and trimming before it was finally glued in place.
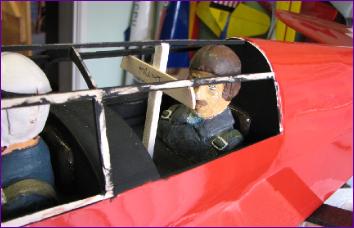
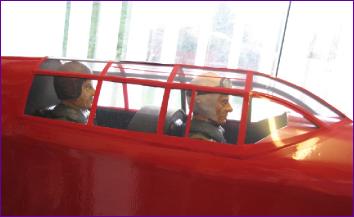
The side panels were relatively straightforward, then the frames (including the 'misssing' one) were picked out using strips of vinyl. The vinyl strips along the side/roof panel joint did tend to lift. I got lots of helpful advice on tackling this via RCGroups and found that working canopy glue under the vinyl using a pin or just ironing the vinyl down with the covering iron both worked pretty well.
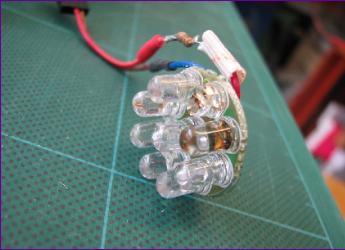
This picture shows the sorry state of the landing light after a couple of flights - only three of the cluster on nine LEDs are still working.
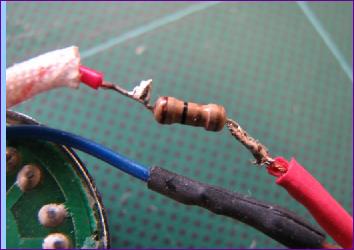
Dismantly the light revealed the damage seen below. As you can see, there is a 1ohm dropper resistor to regulate the voltage for the LEDs.
The LED cluster was taken from a cheap torch and, before fitting it to the model I had measured the voltage from the 3 x AAA dry cell pack in the torch and recorded just over 5v. Since I was running the light off a 5v BEC there seemed no reason to change the circuit so I simply transplanted the LED cluster and it's dropper resistor into the model. Faced with this failure, I bought a second torch but before installing the LEDs in the model did some more careful measurements. I was surprised to see that the load of the LEDs was sufficient to drag the torch's battery voltage down to 3.7v. This meant that, after the dropper resistor, the LEDs were seeing just 3.3v. All of a sudden the failure seemed very understandable!
To test the setup from the 5v BEC feed, I found an old 10ohm wirewound resistor and this proved to be just right to achieve the 3.3v at the LEDs. It was though too bulky to fit in the model and the nearest resistor I could find of a more sensible size was 13ohm so at least I now know that the LEDs shouldn't be over stressed any more.