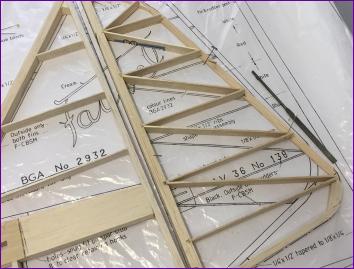
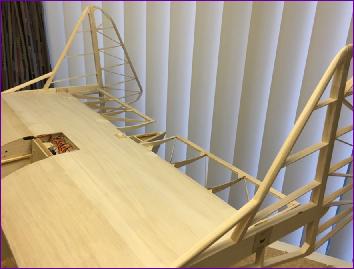
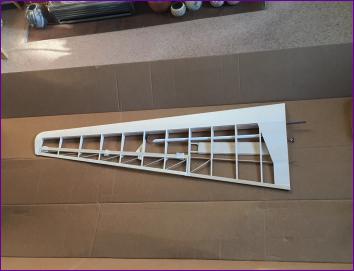
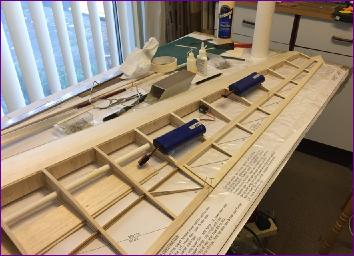
Because of the washout in the wing, the root leading edge was propped up to enable the aileron spar to lie flat on the board. The leading edge of the aileron was attached with small pieces of double sided tape and sanded flush. The ribs were cut out without the curve on the underside and fixed in place leaving room for cap strips on the top surfaces only.
The trailing edge is shown as spruce on the plan but I opted for two laminations of 1/16in balsa. The first of these was notched and fitted flush with the top surfaces of the ribs. The second lamination was then laid on top, overlapping the notched rib joints. Cap strips were then added before separating the aileron from the wing and adding the diagonal ribs 'in the hand'. Finally the underside of the ribs were sanded off to give the reflexed under surface.
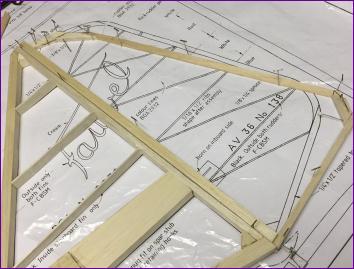
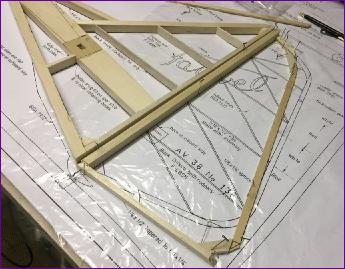
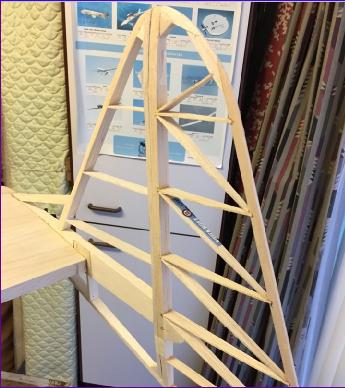
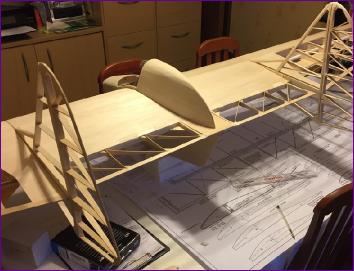
Most full size examples of the AV36 were home built and there were lots of variations on the theme. As you can see, the rudder shape shown on the plan was very different from the one I'm modelling. Whilst I've tried to get the outline fairly accurate, I didn't bother too much about rib spacings etc.
The rudders and fins were taped together then sanded to the assymmetric section shown on the plan. By giving them a flat outboard face and cambered inboard face, the idea is that the outward moving ruddder will be moving into higher pressure airflow than the ingoing one, so giving proverse yaw. The rudders will have differential movement too for the same reason, and I am also considering having them both move outwards to act as airbrakes.
There's some uncertainty about how much reflex will be needed on the elevators so I'm probably going to omit the filler pieces between the fins and elevators until the neutral position has been established. However, that gap between the two elevators is just a bit too big so I'll have to build that piece but fit it in such a way that it's not too difficult to re-position it after the initial trimming flights.
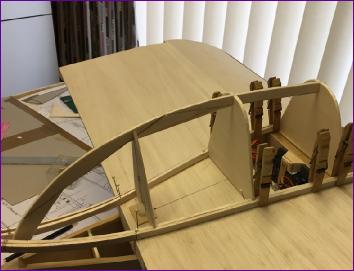
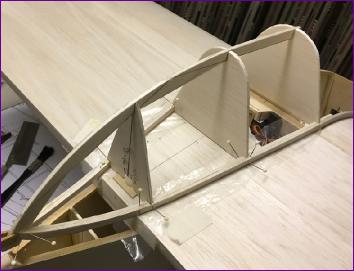
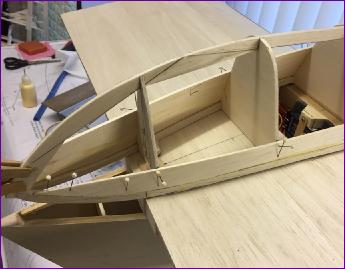
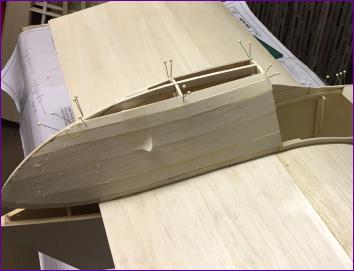
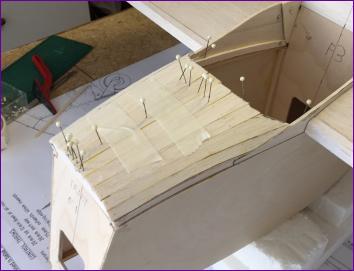
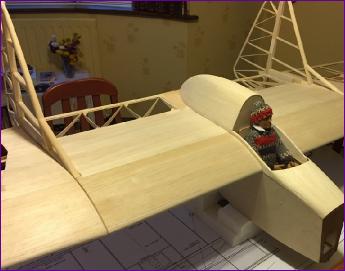
The hatch longerons were laminated out of two layers of 1/8in balsa to reduce the stresses in the structure and to make it easier to let in the pieces of 1/8in ply to reinforce the joint between the front and rear sections.
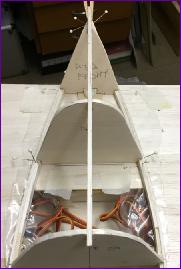
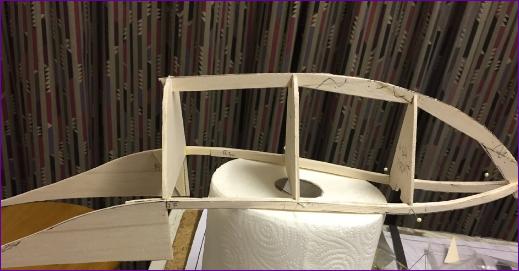
Once the keel (or ridge?) piece had been built up and fitted, the rear ends of the longerons could be trimmed and pulled in onto the keel.
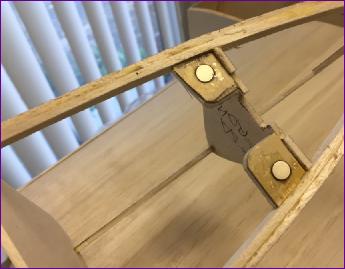
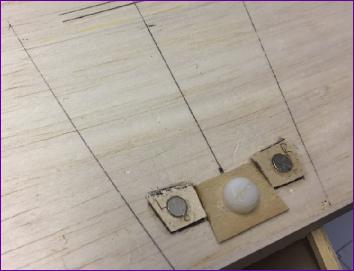
The front of the hatch will be retained by a locating peg into the noseblock, which has yet to be fitted so, before embarking on the planking, magnets were fitted to the rear of the hatch and to the upper surface of the wing, whilst it was still possible to see how they were lining up.
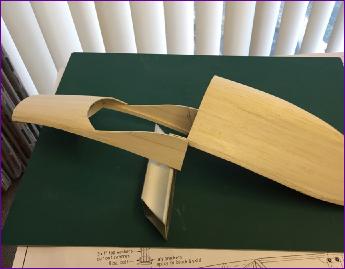
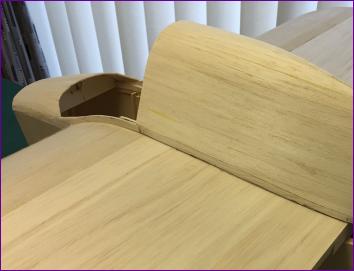
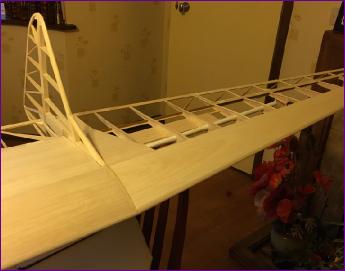
The lower portions of the rear of the hatch haven't got much in the way of a compound curve so I had hoped to sheet them in one piece. However, the stresses involved threatened to distort the structure so I reverted to planking in 3/32in balsa.
Fairly wide planks could be used on the lower areas, the planks getting progressively narrower on the more strongly curved upper section.
The first couple of planks on each side of the nose section were a bit tricky but, once the curved profile of the fuselage side had been accounted for, the rest of the nose planking was straightforward.
There's always something verry satisfying about the way seemingly rough and ready planking sands down to a smooth finish.
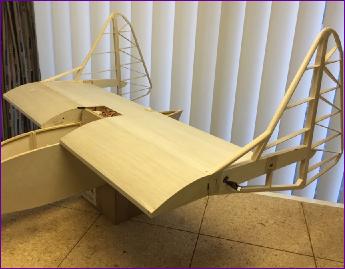
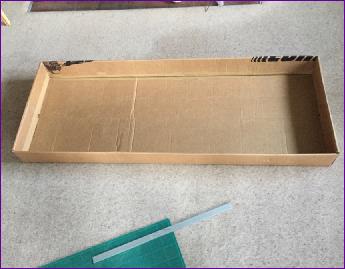
When it came to making the storage/transportation box, I soon gave up on the idea of packing the whole model into one box, because the fuselage is very bulky and awkward and, once the battery and noseweight is added, will also be quite heavy.
So the box was dimensioned about the outer wing panels. Happily, the wing centre section then lies on top of them with enough space for the two fins and rudders to go alongside.
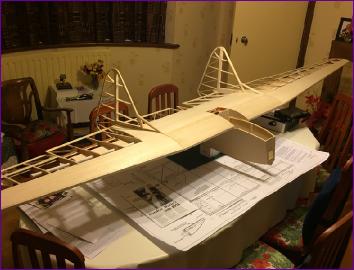
So, all in all, a very satisfactory month's progress. Whilst the remaining strutural steps are not exactly straightforward, I would hope to start covering around the middle of the month, so a maiden flight in March looks a distinct possibility.
 Because of the washout in the wing, the root leading edge was propped up to enable the aileron spar to lie flat on the board. The leading edge of the aileron was attached with small pieces of double sided tape and sanded flush. The ribs were cut out without the curve on the underside and fixed in place leaving room for cap strips on the top surfaces only.