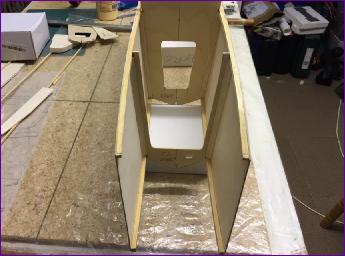
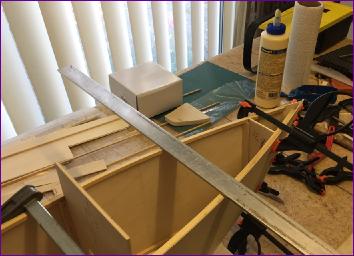
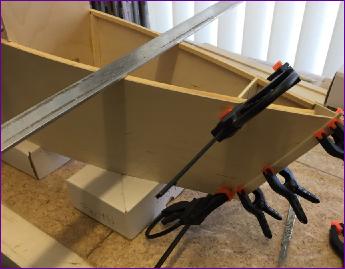
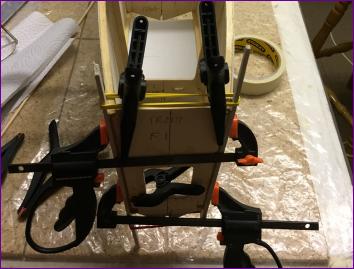
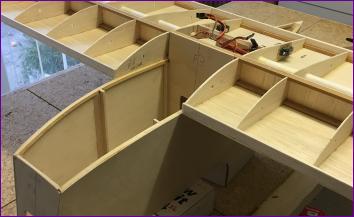
Like so many critical steps in the build process, the job of getting the basic fuselage assembly together was rather more formidable in the anticipation than the execution. The secret lay in lots of dry runs, so that I could assemble the appropriate selection of clamps, packing pieces etc. To stop the packing pieces sliding about on tapered surfaces, e.g. at the tail, I attached them with small pieces of double sided tape. Then, when it comes to do the job for real, once it is all clamped up, give it a good dose of looking at, from all angles, before leaving it overnight to dry
When it came to the wing fuselage joint, the flat bottomed wing section made this very straightforward. Two holes drilled through F3 into the central spar webbing for dowels, and a 1/8in ply plate fitted under the top fuselage longerons to house the T-nut. I wish it was always that easy!
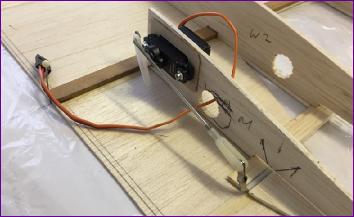
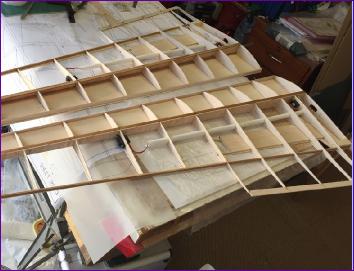
Once the outline of the brake/flap aperture had been built into the lower skin, the question was how the flaps were to be operated and where the servo should go. I followed the approach used on the T61 motor glider of using wire in plastic tube for the hinges. A mini torque rod was fashioned out of a threaded pushrod. A metal clevis was shortened, squeezed and drilled, then screwed onto the threaded end to form a control horn. The servo was positioned as high as possible to ensure the linkage cleared the wiring tube.
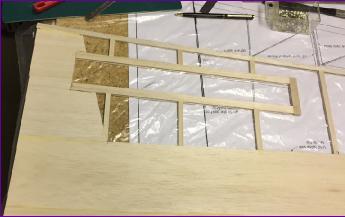
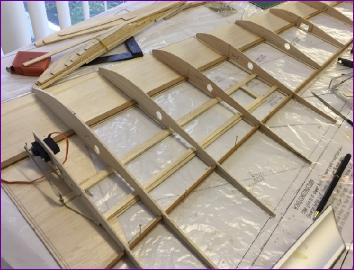
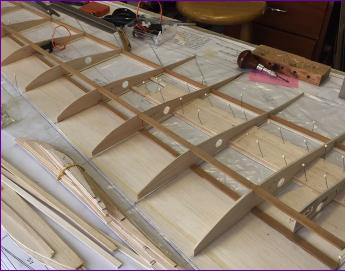
The rear spar on the outer panels fits on the back of the outboard ribs but into slots on the inboard ribs. This means that care has to be taken to ensure the spar is straight and that the spacing between it and the mainspar matches all of the ribs. In my case there was the added complication of another notch in some of the inboard ribs to fit over the airbrake recess. Once again this meant a seemingly endless spell of dry runs, fettling notches etc. before, all of a sudden, it all came together for real.