I’ve been so pleased with the Petrel which I built three years ago that it was clear that another scale glider build was in my near future. Looking at the various models flowing off the prolific Chris Williams production line, my eye was caught by the Dart and the Topaze. These both have straight tapered wings so would be a good contrast to the gull winged Petrel. Eventually, I settled on the Topaze. This version is at 1: 4.2 scale so has a wingspan of just under twelve feet which means that the wings will fit behind the front seats of my Kia Sorento - always a vital consideration!
With the choice made, the plan was printed off at my local stationers, the portfolio of build photos obtained from the ever-helpful designer chappie and the period of plan-pondering and shopping list creation began. We were going through a bit of a supply crisis with balsa wood at the time (the Chinese turbine blade production companies apparently to blame this time) so I had tried not to run my limited stocks down too low. As it turned out, I needed relatively little balsa (just as well, since it was only available in hard grade at most sizes) so an order was placed for these top up pieces, together with some spruce, ply and basswood.
It’s becoming customary to start my build diaries explaining my self-imposed rule of ‘Winter builds mustn’t be started before September’ and why this one, like all the others in recent times, bends the rule a bit. So here’s this year’s excuse:
With the Petrel, I ordered the pre-cut laser parts. This time (partly because of the simpler wing shape) I decided to build from scratch. So my reasoning was that if I had ordered the pre-cut parts, I would have these all ready for the build to start on 1st September so surely it was reasonable to start cutting out some parts before then? In fact this feeble, contrived excuse does make some sort of sense: the logic behind the not-until-September rule is that a significant build takes up all the bench space in my workshop so can be a real nuisance during the main flying season if any maintenance work is needed on the rest of the fleet. A boxful of cut ply parts though surely wouldn’t get in the way to anything like the same extent. Convinced? I thought not.
Anyway, so it was that, as early as the end of May 2022, I had a few parts to slot together for a test fit - it doesn't count as building until the glue pot is opened!
Needless to say, this model would not be built exactly as per plan - I intended to use balsa rather than ply for some areas and basswood rather than spruce for some of the fuselage longerons. These changes meant that the formers all had to be modified to varying degrees to accommodate the difference in wood dimensions. So, purely to check whether I’d got the formers right, some longerons were cut to length and a more extensive dry assembly could be attempted.
There then followed a period of self-restraint lasting well over two months, helped by a good summer of flying weather and by a short diversion to put together a foamie aerobat (which I might get around to adding to this website at some point).
This takes us up to August when, out of the blue, I received a shock in the form of a cancer diagnosis. Having delivered this devastating news, the consultant, in a lamentably unsuccessful attempt at reassurance, said “Don’t worry, this isn’t going to kill you tomorrow”. Needless to say, I left that consultation with a greatly heightened sense of my own mortality and the feeling that in the coming months I was going to need the distraction therapy that model building provides more than ever before.
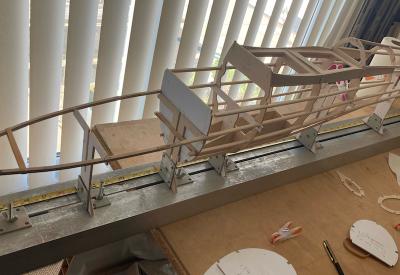
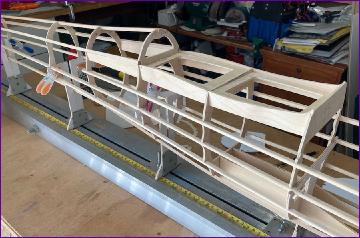
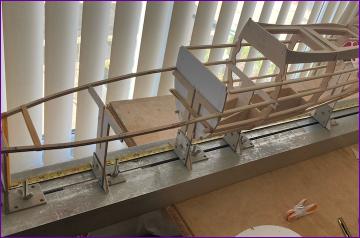
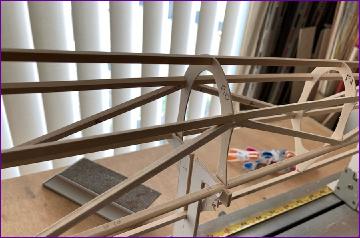
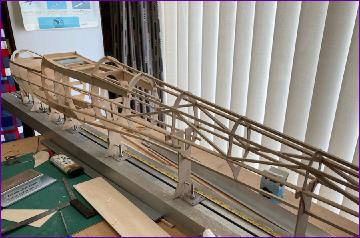
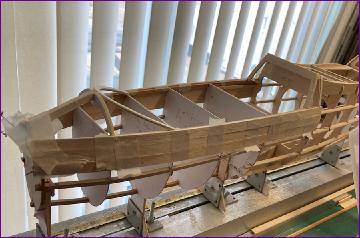
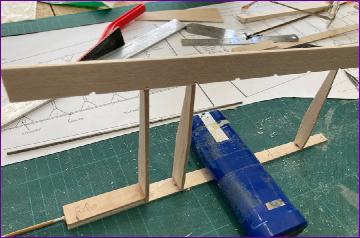
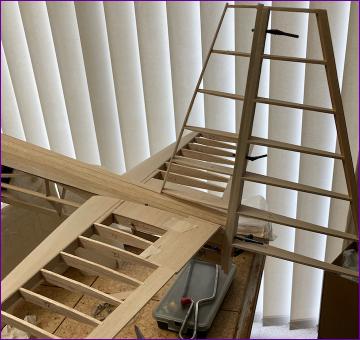
Chris Williams had offered me the loan of his jig to assist with the building of the fuselage and Geoff Crew kindly gave me the jigging pieces he had used for his own Topaze build. So, having collected the jig, I set about another dry assembly check, this time on the jig.
The jig works very well but is designed to accommodate much bigger builds than this, with the result that it extends over the full width of my workshop so I could only get from one side to the other by ducking underneath it. This provided an additional incentive to get the jigged phase of the build over and done with as quickly as possible.
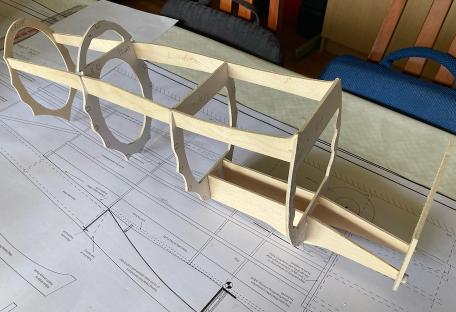
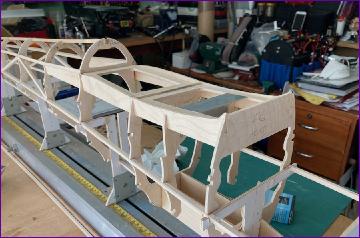
Once I was sure that the various parts were all going to fit, a start was made by gluing the wheel plates to a couple of formers
Then, in the jig, the remaining formers and a few longerons were added, followed by the balsa diagonals.
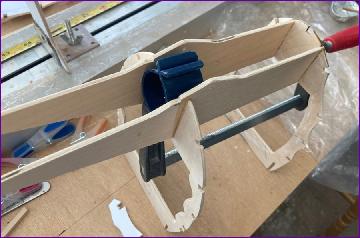
The plan calls for 5mm square spruce longerons which, for the fabric covered parts of the fuselage, are capped with half round ramin moulding to simulate the tubular structure. Unfortunately half round moulding this small didn’t seem to be easily available and I didn’t fancy my chances of splitting round dowel so instead I used 6.5mm x 5mm basswood and rounded one side off before gluing in place. Time will tell how well this works.
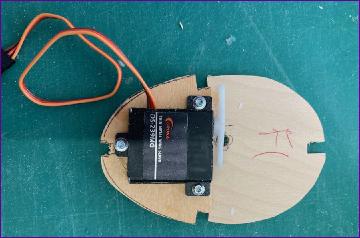
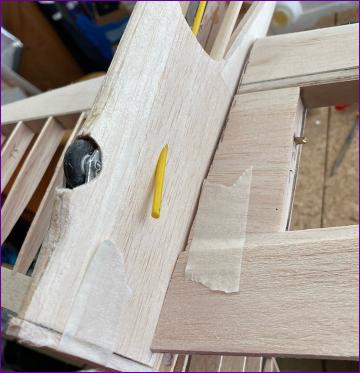
The basswood came in 48in lengths so the main longerons needed extending. I opted to splice a section of spruce on the front end. Then these spruce extensions and the cockpit rails were steamed to help them bend in around the nose formers. Before F1 was glued in place, it was prepared to take the tow release servo. So now I had a pretty complete fuselage skeleton.
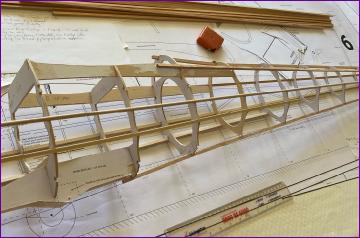
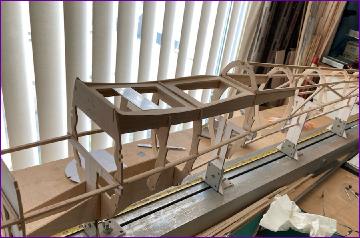
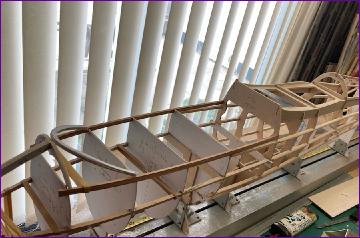
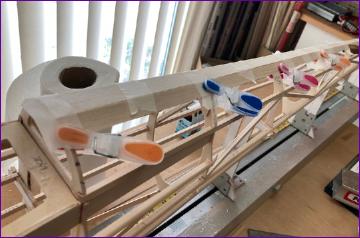
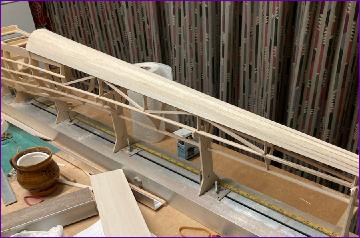
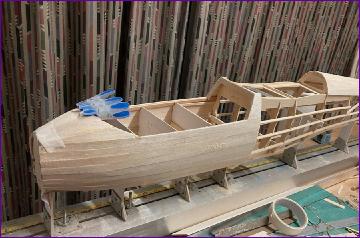
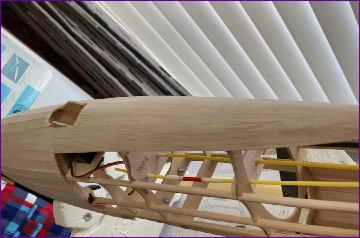
Before the fuselage can safely be released from the jig, it needs to be stiffened up with some skinning. This is shown on the plan as being done with ply but I prefer to use balsa. The rear turtle deck is single curvature so could in principle be done as a single sheet. However, I went for the minimal stress approach (for both me and the timber!) and planked it with 3/32” balsa.
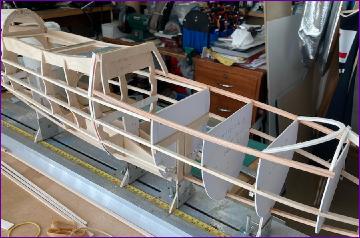
The cockpit area was treated similarly, this time with 1/8” balsa. Now the fuselage could be released and the jig returned - and I could once more get around the workshop. With the jig pieces removed, the underside of the nose section could be finished off, prior to removing the temporary formers from the cockpit.
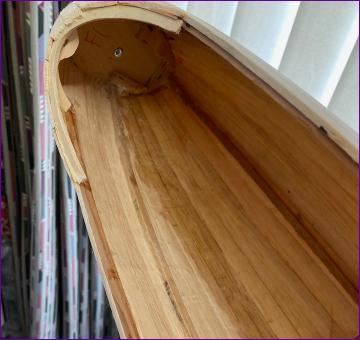
The inside of the cockpit was then treated to a layer of fibreglass. The two-tone appearance is due to me experimenting - epoxy resin was used for the lower sections, and Deluxe Materials’ Eze-kote for the upper sections. I have to say I prefer the latter - much less messy and brushes wash out with water. Next it was time to turn attention to the tail end.
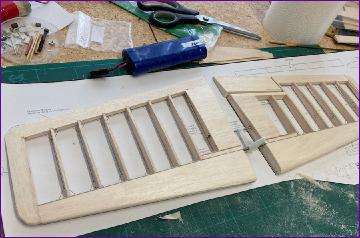
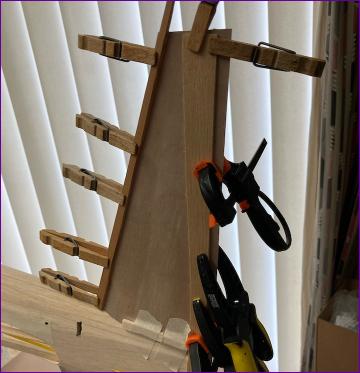
It seemed like a good idea to get the all-moving tail mechanism sorted out before skinning the rear section of the fuselage. Fortunately I remembered that it’s much easier to get the spacing of the tubes in the tailplane correct if you still have the tailcrank to use as a jig, so a section of the bench was cleared and a start made on the tailplane halves.
The first step was to fit the pivot tubes to the 1.5mm ply spars.
The rear section of the tailplane panels are then built onto these spars, then the solid leading edge section is added, together with the tubes for the rear joiner, using the tailcrank to ensure the spacing is accurate.
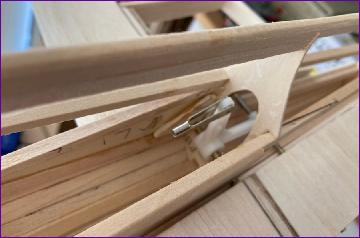
With the tailplane halves basically built (final shaping will be left until much later, since they are bound to accumulate a few dings and dents in the meantime) the tailcrank pivot can now be installed in the fuselage. Getting this lined up accurately is usually a bit of a struggle and this time was no exception. However, after much faffing around, I was satisfied with the alignment and the pivot tube was epoxied in place.
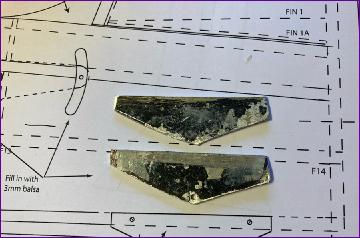
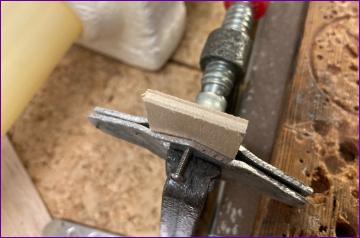
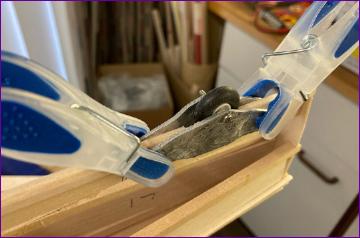
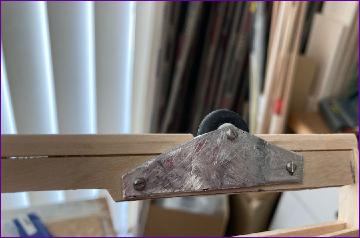
The next challenge was the support brackets for the tailwheel. Students of my build logs will know that metalwork comes a close second to all things brush-related on the list of my areas of incompetence so making these aluminium pieces demanded a lot of thought, especially as the brackets, rather than being flat plates, have a bulge in them to accommodate the wheel. I found some old painted aluminium (actually the remains of the case of a home-made stereo amplifier built by a friend in our student days - anyone else remember the Dinsdale? Published in Wireless World, I think). The plates were cut out with a hacksaw, drilled, then cleaned up before tackling the bulge. I spent a while thinking how to do this last step and, by the time I woke up the next morning, my initial plan had been simplified out of all recognition. With a bolt in place to line up the axle holes, a piece of 3mm ply was placed between the plates, then the end sections were simply squeezed together in the vice. The result isn’t perfect but I must admit I’m pretty pleased with it.
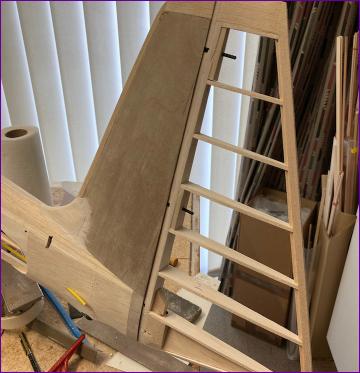
Before pressing on with sheeting in this tailwheel area, I made the basic structure of the fin and rudder, just to help me visualise how the rear end of the fuselage should be shaped.
Once again, when it came to sheeting in the area around the tailwheel, I chickened out of trying to skin this area in ply and built it up out of balsa. Again there’s more tidying up to do here but it can wait till later.
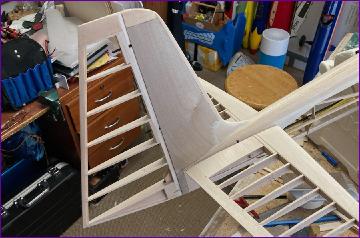
Meanwhile, in a quest to get as much as possible of the ‘upside down’ work done on the fuselage before permanently fitting the fin, I moved on to the area around the main wheel. You guessed it - more balsa planking in lieu of sheet ply. Closed loop rudder guide tubes were also installed at this point along with the elevator and rudder servos.
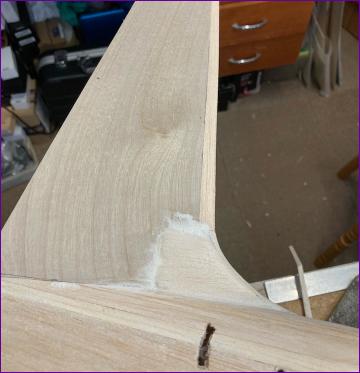
Chris’s build photos show the fin being skinned with ply before being attached to the fuselage. Quite a lot of filler then has to be used to blend the base of the fin with the top of the fuselage. I sought to reduce the amount of filler needed by skinning the fin in situ. This was partially successful but, as you can see, I did have to resort to a bit of filler to get a smooth line around the fillet at the base of the fin leading edge.. For once though, I did use ply for the skins as recommended, mainly so that the hinge shroud could be formed by letting the skins overhang the fin post.
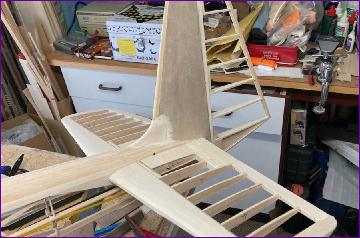
The lower hinge shroud was added, followed by an awful lot of trial fits to get a satisfactory fit of the rudder leading edge into the shroud. Finally the tail area had reached the point where it was time to put the fuselage aside and clear the decks for the wings.
This brings us to early November, so it's taken me over five months to get around to this first diary instalment. I'll try not to keep you waiting so long for the next update!