January - October 2023 Well, if the second instalment of this diary was only slightly delayed, this one has set an all-time record for tardiness! This is mainly due to a general lack of energy on my part as I undergo cancer treatment. This has meant that such energy as I’ve had has been channelled into keeping the build moving rather than updating this diary. Even so, progress has been slow but, at the time of writing, the model is at last complete but unflown. Maybe by the time I’ve got to the end of this update, the maiden flight will have taken place. Read (or skip) on to find out. . .
First, let’s resolve the cliff hanger of the incorrectly fitted wing joiner. After due cogitation and consultation, the decision was made to press on and install the subspars and then fit a second, correctly angled, joiner box between these.
Once the second wing was complete, a mating joiner box was built into that too (after many checks and measurements!). The wings were then joined together and laid across the fuselage to check all was well before adding a bit of lead to compensate for the missing second box and closing off the spar in the second wing.
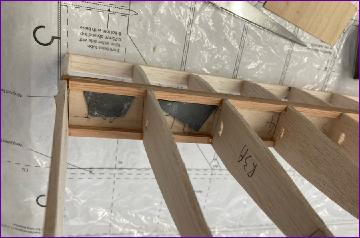
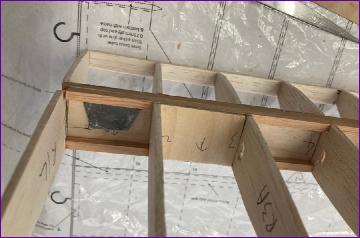
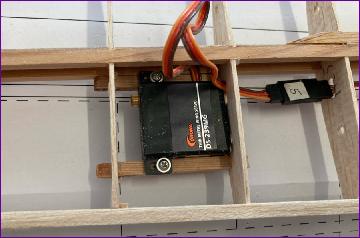
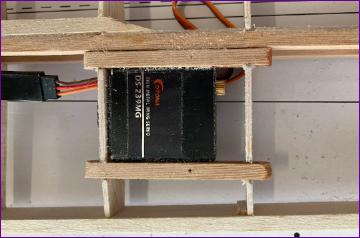
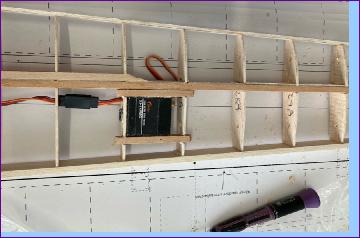
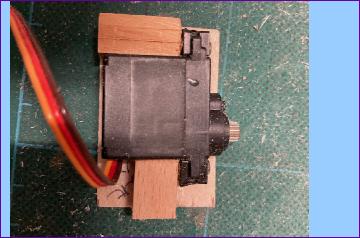
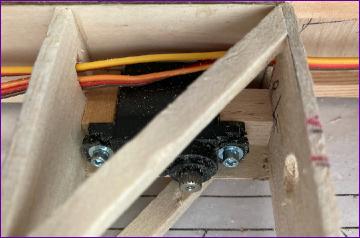
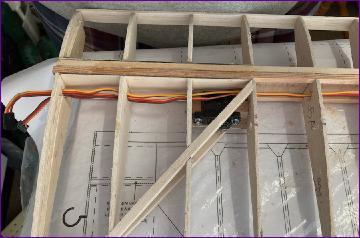
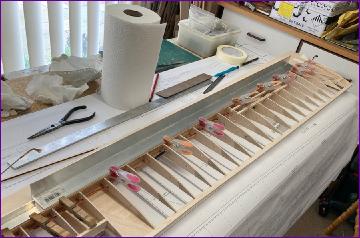
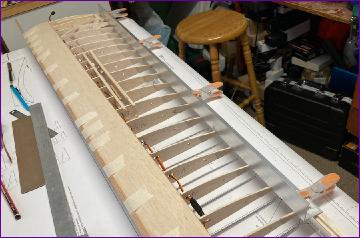
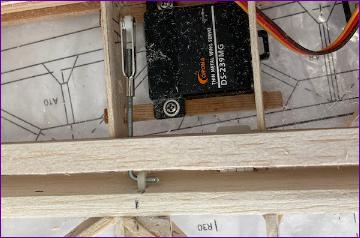
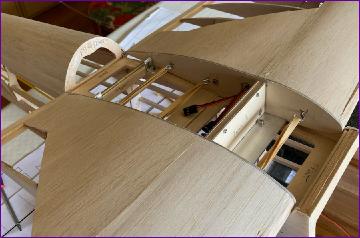
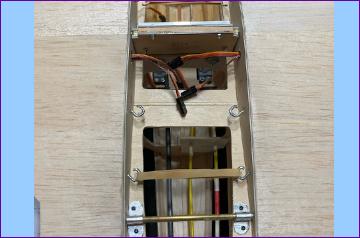
After all this stress, sorting out the servo mountings in the wings came as something akin to light relief. The aileron servos were positioned and mounted conventionally. The position of the brake servos was determined by the longest 2mm threaded rods I had in stock, which happily enabled the cable to reach through the root rib without the need for an extension lead.
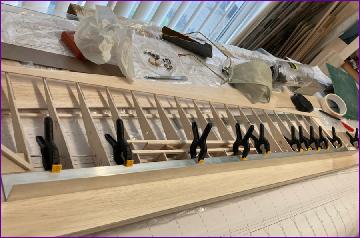
Next job was to fit the leading edge sheeting to the wings, first the underside then, with the wing supported on its jigs, the upper surface. I like to get the sheeting firmly stuck to the spar first then run glue along each rib and at the false leading edge before pulling the the sheeting down into position.
A few more bits of sheeting were then added to provide a good reference to begin the build of the ailerons.
Sheeting around the airbrake apertures was next, enabling a first fit of the airbrake cappings. These home made airbrakes were always going to be a fiddle and, sure enough, the whole build has been punctuated with episodes of adjustment, head scratching and more adjustment to get to this point. I just hope they prove to be reliable in use.
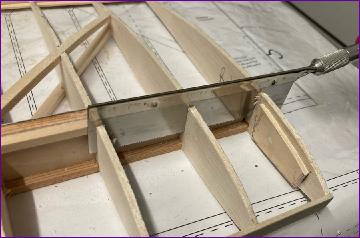
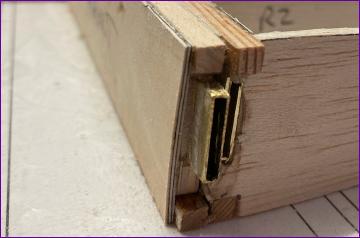
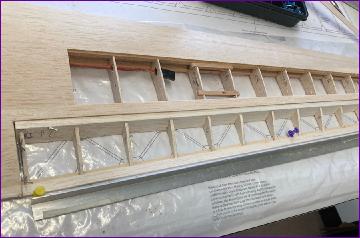
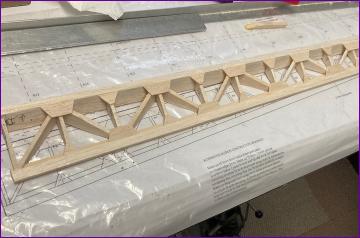
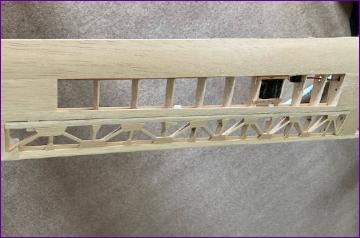
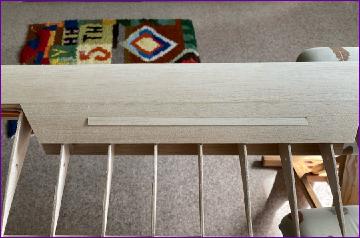
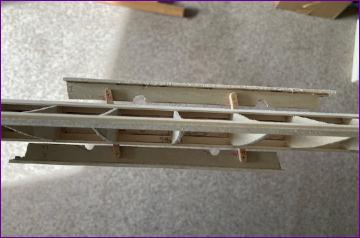
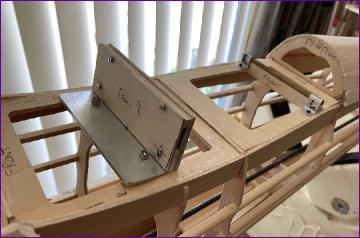
After those fiddly fitting bits, we move to a critical part of the model’s structure, the wing attachment. The pictures show how this is done.
What they don’t show is the innumerable trial fits and measurements that went on before any of this was finalised. Eventually though I was happy how everything lined up.
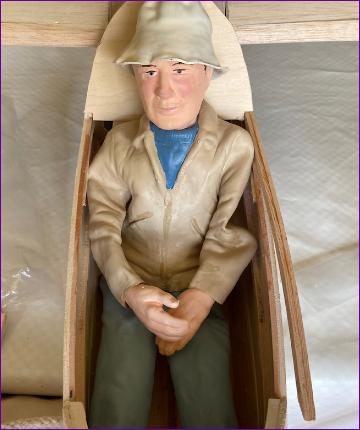
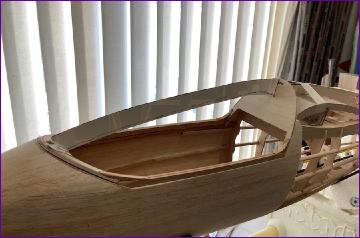
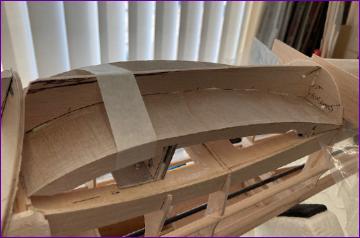
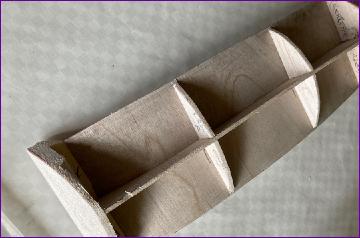
From critical engineering to arguably the most aesthetically critical area of any scale model - the cockpit. First the canopy frame is constructed from spruce and ply, having checked that my pilot was going to fit in (he’s 1/4 scale vs. the 1/4.2 scale of the Topaze, so he is a rather snug fit!).
The challenge now was to ensure that the nose, the canopy, the wing fairing and the rear fuselage decking all flow into each other in a continuous curve. There’s a limit to how much measuring can help here so a few card templates were used to help to visualise how the various components were to fit together. I made things harder for myself by eschewing the plan method of building up the wing fairing out of block balsa and filler which would have allowed much more room for adjustment than my formers and planking approach. Eventually though, I was very pleased with the finished wing fairing - I just hope that the canopy can be made to bridge the gap between it and the nose without any jarring changes of line.
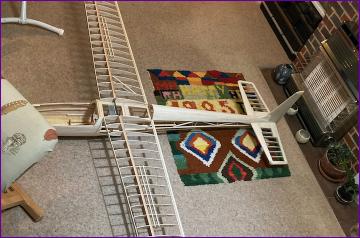
Once more, this page is getting a bit long so time to move on to part 4.