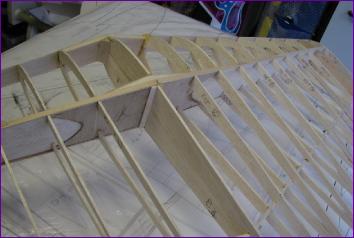
A"Egg boxing" the rib halves onto the mainspar went pretty smoothly, however when it came to the rear spar I had much more difficulty getting everything lined up. Basically I hadn't bothered to make sure that the ribs were of a consistent depth so the gap for the rear spar fluctuated from rib to rib which meant that each notch required individual fettling.
I didn't bother trying to reinforce the central joint in the rear spar - it's essentially there as a jigging aid rather than a structural member.
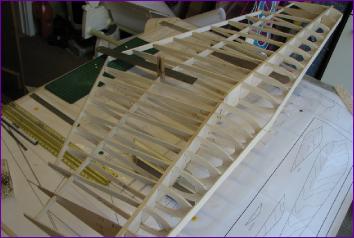
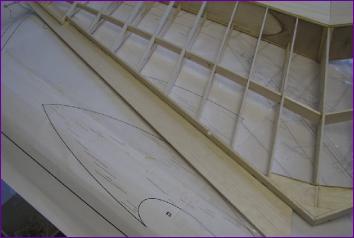
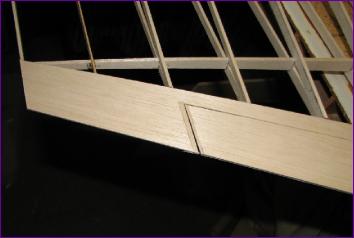
Once the false leading and trailing edges were added, I had to do numerous dry assemblies to check the fit of the R2 rib halves, the dihedral braces and the various central joints as well as the spar caps. As you can see in this picture (click it to enlarge) the inboard sections of the spar caps are from basswood, balsa being used from rib 6 outwards.
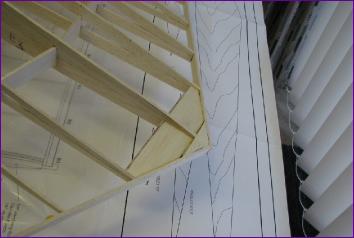
This wing has a formidable chord - that is a 12in steel ruler laid along the centre rib. And remember, the ailerons are still to be added!
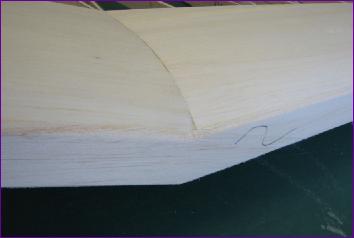
These first two pictures show the wing upside down.
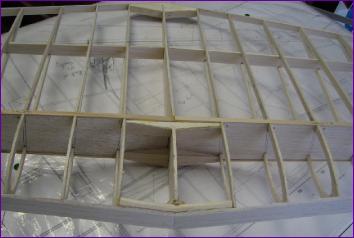
With the panels joined, the centre rib could be fitted and I set about reinforcing the joints. I haven't decided whether the wing will have one or two dowels in the leading edge but there should be enough 'meat' there to support either option.
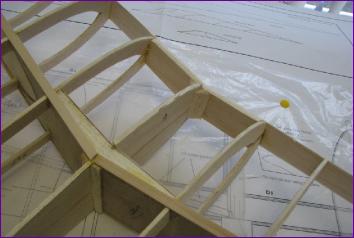
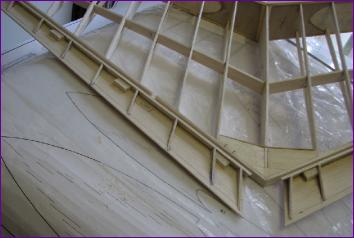
I had planned from the outset to do built-up ailerons and, to make it easier to blend them into the rib profile, started off by glueing the top trailing edge piece of 1/16in balsa in place to form a base on which to construct the framework of the aileron. The leading edge of the aileron is installed at an angle to allow some downward movement when top hinged (the wing is upsidedown, remember). At this point the framework was roughly trued up with the profile of the wing, then the aileron was cut free and the framework and trailing edge given a final levelling before adding the top (sorry, bottom!) skin.
The ailerons are unusual in that they occupy the inboard 3/4 of the trailing edge. I did contemplate extending them outboard but refrained from this partly because the designer himself assured me that the roll response was fine as designed and also because I reasoned that the anhedral on the wing would mean that the tips of the inboard panels (where the sponsons are) could be on the water whereas the inboard section would not. Little did I know how wrong I was!
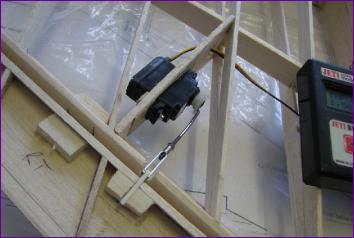
This last picture shows the aileron linkage as I originally planned it before being told that the whole length of the trailing edge would be on the water when taxiing - it seems that the forward sweep of the t.e. combined with the nose-high attitude in the water is just enough to overcome the anhedral and bring the trailing edge back to the horizontal.
Almost everyone I asked about how to tackle the water ingress problem took the 'I wouldn't start from here' approach and recommended relocating the servos. I do though hate re-working things so have not yet given up on trying to waterproof the existing layout, so have been looking at a few boat builders' websites. . . .