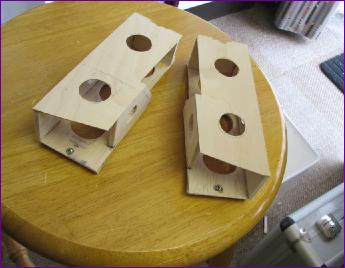
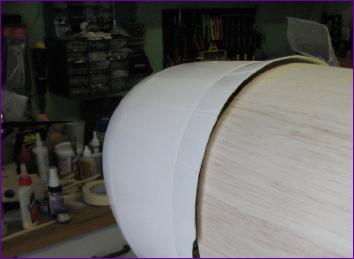
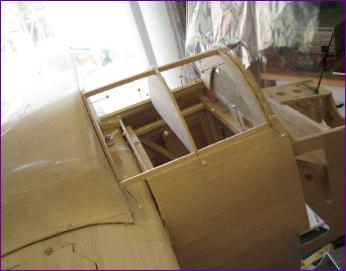
The battery boxes are simple in principle but take a lot of fiddling around to get them to fit well enough to be secured by a single screw, which is why I wanted to get this job done before adding the nose doublers which make access just that bit more difficult.
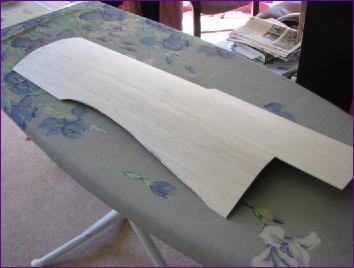
I found that pre-forming the side sheets before trying to glue them into position made the job much easier. The pre-forming was done by taping the panel to a cardboard tube and then brushing it with water and putting it in the airing cupboard for a couple of hours to dry.
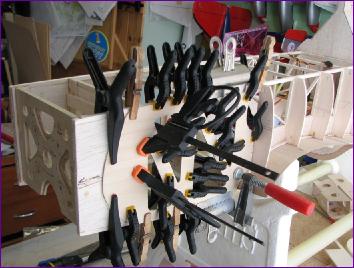
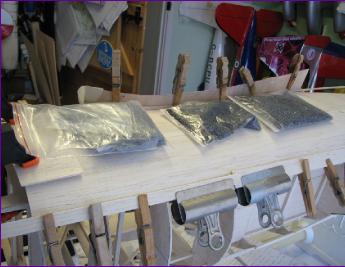
Even then, a mixture of clamps, lead weight, pins and tape was used to hold the panels in position.
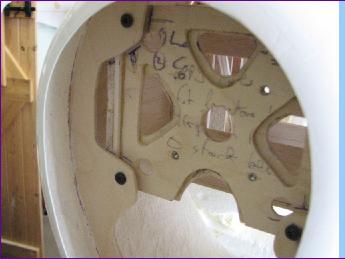
A 1/8in play former was dry fitted into the cowl and screwed to the firewall. Once I was happy with the positioning of the cowl, the former was tacked with cyano and later reinforced with glass bandage and epoxy. The fit of the cowl around the fuselage worked out pretty well.
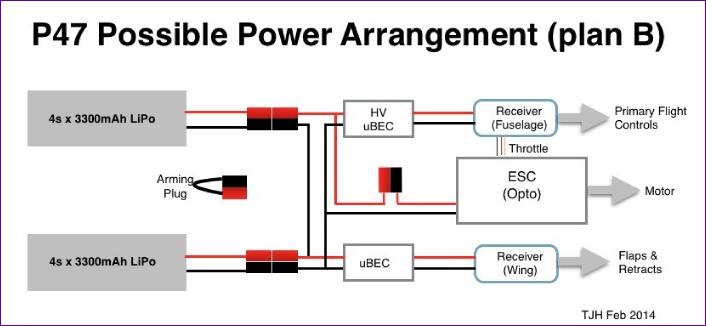
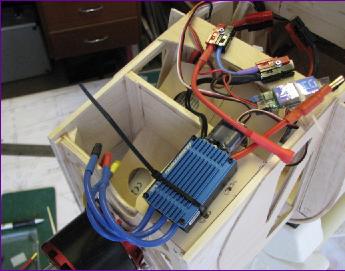
I like to power the radio and servos from the main flight pack in order not to have to worry about charging separate batteries. However, I also wanted to provide a degree of protection of the power supply for the primary flight controls in the event that a main retract unit was to jam so two uBECs were used to power the two receivers.
The diagram below shows the circuit used.
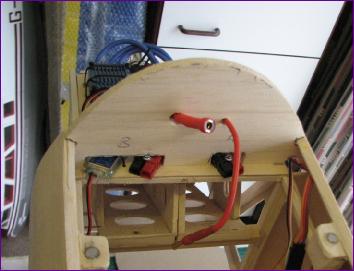
Although I stuck to my standard Sermos connectors for the battery packs, a Jeti anti-spark connector was used for the arming plug. This enables the battery packs to be connected with the model upside down on the stand. Wheels can then be lowered and the model turned over secure in the knowledge that the motor cannot run.
The arming connection is made and the belly hatch fitted immediately before taxiing out. That's the theory, anyway.
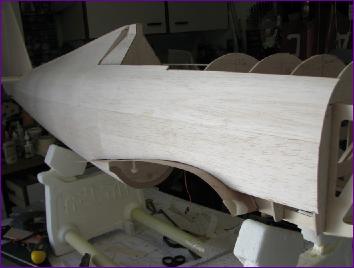
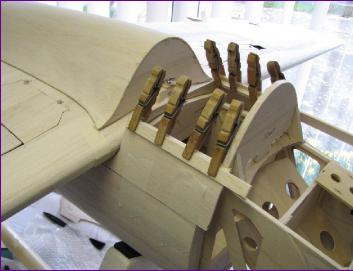
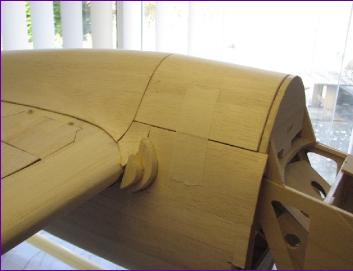
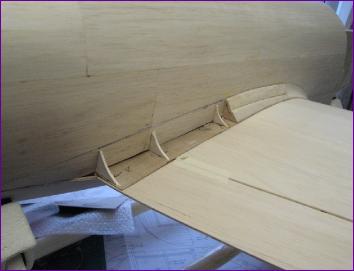
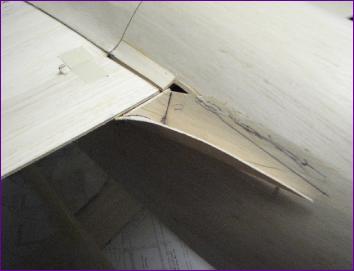
To keep the hatch shape simple, I first built up the fuselage sides clear of the wing fairing area. Some chunks of 1/2in balsa were then added to the wing and fuselage to be ground down to form the leading edge fairing
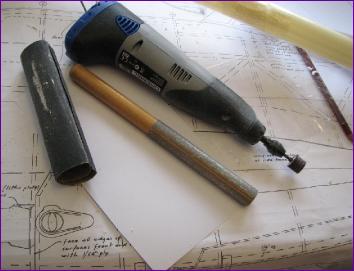
The front and middle portions of the overwing fairing were also made up from two laminations of balsa before being sanded to shape. I found the sanding drum on a Dremel tool was great for removing the excess balsa, followed up by the PermaGrit round sanding bar for final shaping.
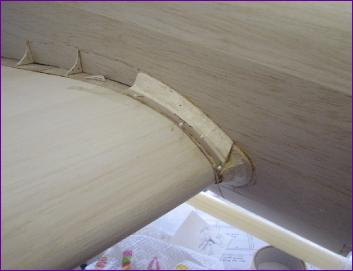
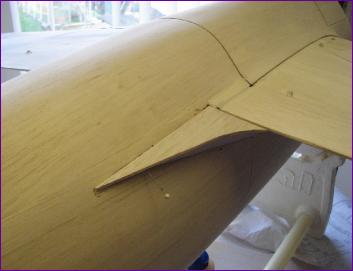
The rear section of the upper fairing was made from two laminations of 1/32in balsa. It's always hard to visualise exactly how the rear end of the fairing is going to blend into the fuselage so I fitted the first lamination then turned the model over to tackle the underside before tidying off the top with the second layer of 1/32in balsa.
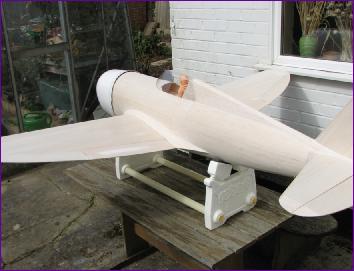
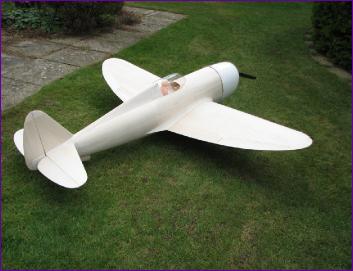
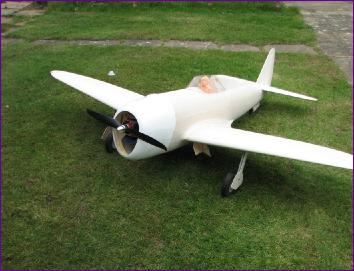
Considering that the Thunderbolt was a brute of a fighting machine, its bulky lines still have a certain grace. I can only hope that this will be echoed in its flight performance.
I expect we will find out in another month or so. . . !