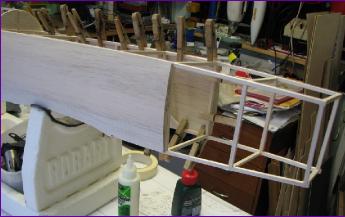
I had planned to do the wing seat before sheeting the fuselage. However, I became concerned that the highly flexible framework might distort during the sheeting process so I decided to get at least some of the sheeting done first.
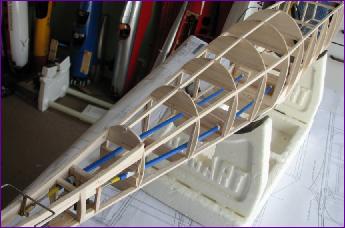
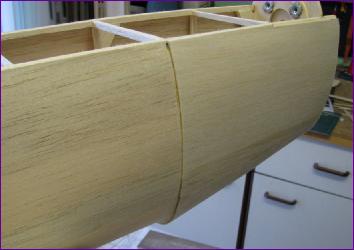
Stringers and formers give shape to the fuselage before 1/16in balsa skins are applied. I pre-formed some of the skins by rubber banding them in place and brushing them with water.
The joint between the rear side and lower sheets worked out really well. Other joints didn't quite match up to this standard!
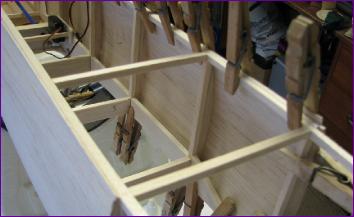
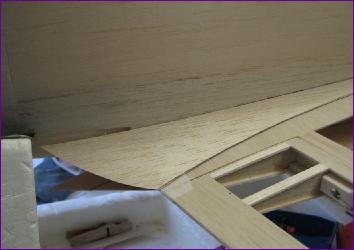
The next stage was to extend the side sheeting forward to the front of the wing bay.
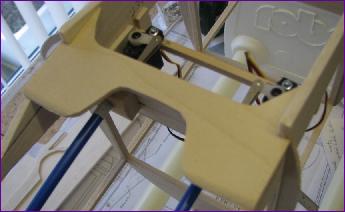
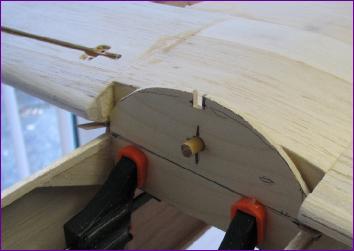
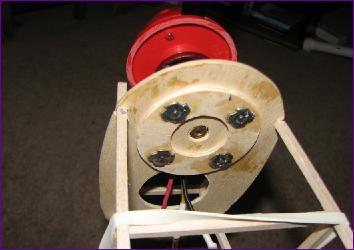
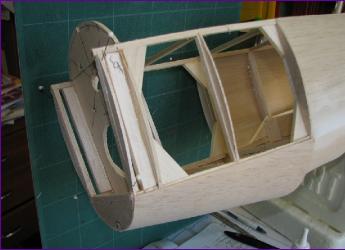
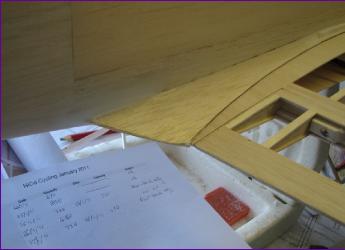
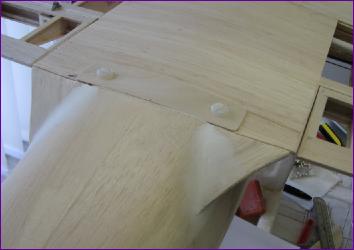
With the fuselage suitably stiffened up, 6mm T-Nuts were fitted under the ply plate and balsa spacing blocks glued on top. A 1/32in ply plate was used to protect the wing trailing edge from the bolt heads - and slipping screwdrivers!
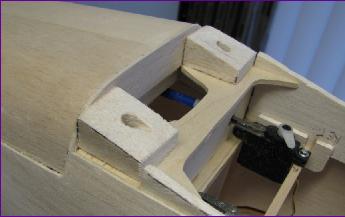
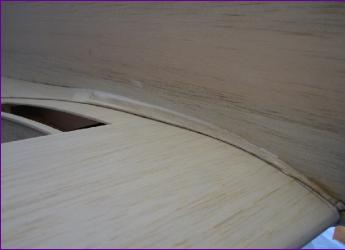
Once I was happy with the fit of the wing, the front plate was glued in place.
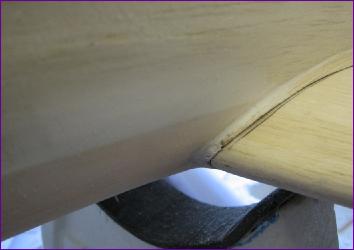
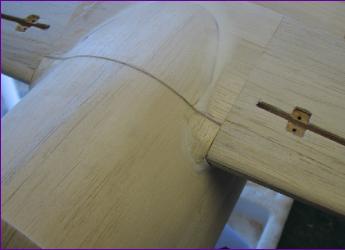
Although the wing was now secure, you can see from the last few photos that there is a lot of work still to do to tidy up the joint.
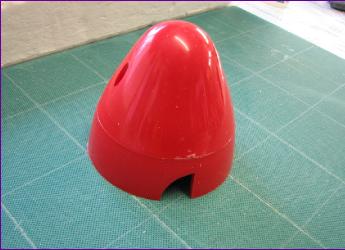
However, now that the model could stand on its wheels, I was keen to assemble it and get a first idea of where the battery might have to go to achieve the right cg. This meant temporarily fitting a firewall to mount the motor, and this in turn meant that a decision had to be made about the spinner.
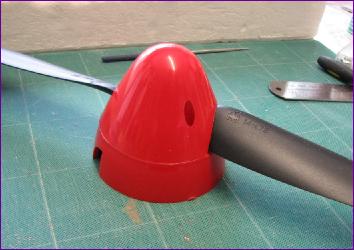
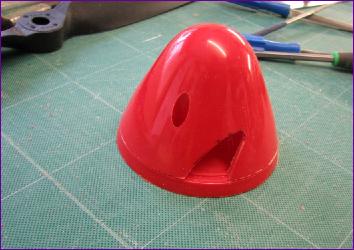
The readily available (aka cheap) plastic spinners are the wrong shape so I decided to try a trick I had read about elsewhere and take off the rear section. The first step was to cut new propeller slots in the cone piece.
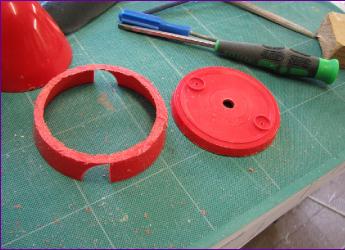
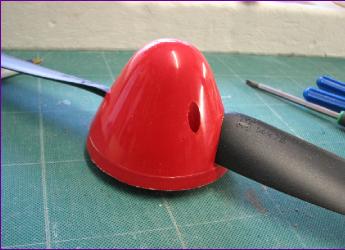
Finally, the skirt was removed from the baseplate.
The modified spinner is still not quite right but the idea of seeking out a better one and starting all over again didn't really appeal.
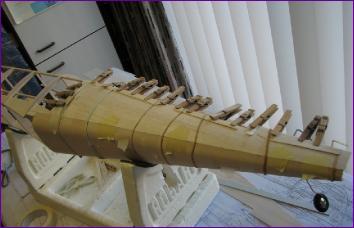
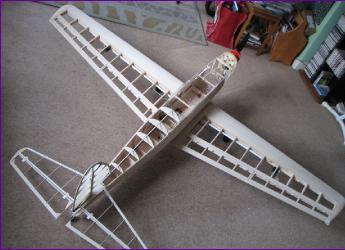
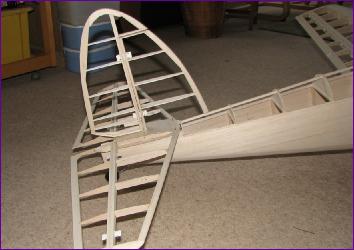
With a firewall cut out and precariously dry fitted, the Chipmunk stood on its wheels for the first time. It balances pretty well without the battery so it looks like the battery will have to go under the cockpit area. The prototype has a long hatch which extends from the noseblock to the rear of the cockpit but I was intending to have a fixed cockpit, so this might have to be re-considered.
Tail surfaces are all dry fitted at this stage too - they are much safer on the workbench while the wing fairings and nose section are being worked on.
I was alarmed at how flimsy the front end of the fuselage felt during this photo shoot so thought it best to fit the firewall and get some sheeting around it before proceeding any further. The plan shows the fuselage sides flush at this point but I decided to make a feature of the 'cowl' joint.
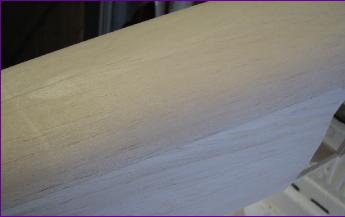
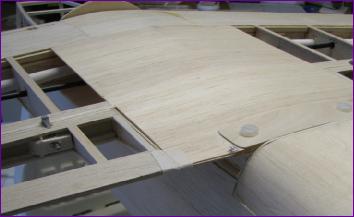
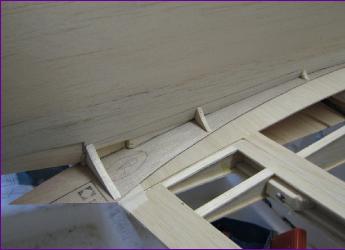
Next came the dreaded wing fairings. First, 1/164in ply baseplates were fitted, then the rear section of the fairing was fabricated from 1/16in balsa sheet over balsa formers. The forward section is very slim and was laminated from four strips of 1/16in balsa. Finally the front and rear ends of the fairing were blended into the fuselage using the well known 'make it up as you go along' method, topped out by a good smear of filler!
As if all that balsa bashing wasn't enough, I did make a start on the noseblock during the last couple of days of January, but I'll spare you the sight of that until next month.